Is it really possible to create smooth color transitions in your coloring books? Many believe that mastering this technique requires advanced skills or expensive tools, but that’s not necessarily true. With the right approach and a few simple techniques, you can elevate your coloring game significantly. Let’s explore how you can achieve those stunning blends that bring your artwork to life.
Key Takeaways
- Start with a light base layer, using gentle circular motions to set the foundation for smooth blending.
- Gradually build up color intensity by layering darker shades, ensuring seamless transitions between hues.
- Use a colorless blender to smooth out edges and fill gaps, enhancing the overall cohesiveness of your colors.
- Experiment with blending techniques like circular blending or stippling to achieve different textures and effects.
- Take your time and revisit layers as needed to achieve the desired depth and vibrancy in your coloring.
Understanding Color Theory
Although color theory can seem complex at first, understanding its basic principles is essential for blending colors effectively in your coloring books.
Start by familiarizing yourself with the color wheel. It’s a visual representation of primary, secondary, and tertiary colors. Knowing how colors relate helps you create harmonious blends.
Familiarize yourself with the color wheel to understand primary, secondary, and tertiary colors for harmonious blends.
For instance, complementary colors, which sit opposite each other on the wheel, can create vibrant contrasts when blended skillfully. Meanwhile, analogous colors, found next to each other, provide smooth transitions.
Experiment with warm and cool colors to evoke different moods in your artwork. By grasping these concepts, you’ll be better equipped to mix shades, enhancing your coloring experience and achieving stunning results that truly pop on the page.

Choosing the Right Coloring Tools
Having a solid grasp of color theory sets the stage for choosing the right coloring tools that can elevate your artwork.
Start by selecting colored pencils, markers, or gel pens, each offering unique blending capabilities. Colored pencils allow for smooth layering and fine details, while markers provide vibrant saturation. Gel pens can add a pop of shine.
Consider the quality of your tools; professional-grade options often yield better results. Look for tools with a range of colors, as versatility is key.
Don’t forget about blending tools like stumps or tortillons, which can help you achieve a seamless transition between colors.
Experiment with different tools to discover what suits your style and enhances your blending techniques.
Happy coloring!
Layering Techniques for Blending
To achieve smooth color transitions in your coloring books, mastering layering techniques is essential.
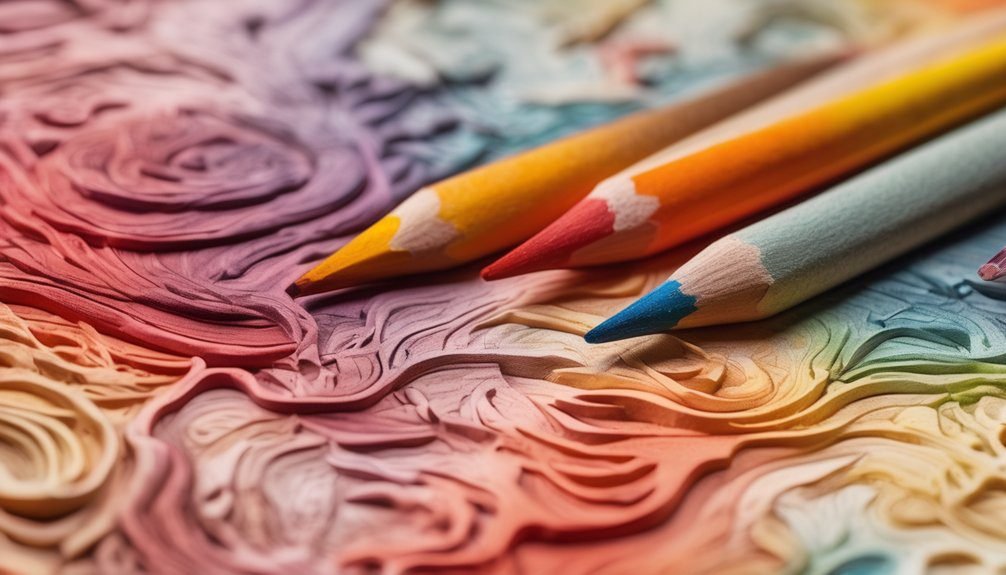
Start by applying a light base layer with your first color. Use gentle, circular motions to create an even foundation.
Once you’ve established the base, gradually build up the color in layers, using a slightly heavier hand with each subsequent application.
Remember to overlap colors slightly to create a seamless transition. Blend the edges where colors meet, ensuring there’s no harsh line.
Don’t rush; take your time to achieve the depth you desire. Experiment with different colors together, and don’t be afraid to revisit your layers, adjusting as needed.
With practice, you’ll develop a unique style that enhances your coloring experience.
Using a Colorless Blender
When you want to achieve a polished finish in your coloring projects, using a colorless blender can be a game changer. This tool helps you seamlessly blend colors together, creating a smooth transition without adding any new hues.
Start by applying your base colors, then take the colorless blender and gently go over the areas where you want to blend. Use light pressure to avoid damaging the paper, and move in small circular motions for the best effect.
The blender will push the pigment around, filling in any gaps and creating a soft, cohesive look. Don’t rush—take your time to achieve the desired smoothness.
With a little practice, you’ll master this technique and elevate your coloring skills.
Experimenting With Different Mediums
After mastering the colorless blender technique, it’s time to explore the exciting world of different mediums in your coloring projects. Each medium offers unique blending properties that can enhance your artwork.
Try colored pencils for precision and smooth layering; they’re great for creating depth. Watercolors can create soft, ethereal blends, while markers provide vibrant, bold colors with quick application. Don’t forget pastels, which allow for soft transitions and a dreamy effect.
Experimenting with these mediums can help you discover your preferences and develop your own style. Mix and match them too! Use colored pencils over watercolors for added detail or blend pastels with markers for unique textures.
Explore different mediums and mix them creatively to uncover your unique artistic style and preferences!
Dive in, and have fun discovering what works best for you!
Blending Techniques for Specific Effects
Unlock stunning effects in your coloring projects by mastering specific blending techniques tailored to various styles.
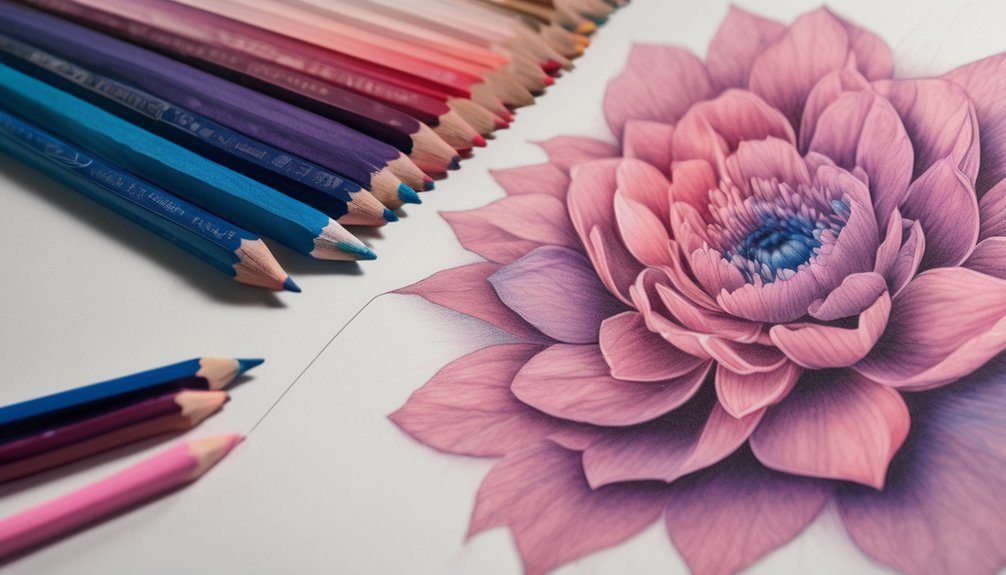
For a soft, dreamy look, use the circular blending method. Lightly layer colors in circular motions, gradually increasing pressure for depth.
If you want a vibrant, bold effect, try the layering technique. Apply your base color, then add darker shades on top, blending with a gentle touch to maintain brightness.
For a textured feel, experiment with the stippling technique—dot colors in close proximity, allowing them to visually mix.
Lastly, to create smooth gradients, transition between colors by lightly overlapping them, ensuring a seamless flow.
Practice Exercises to Improve Blending Skills
Improving your blending skills can be as simple as practicing a few targeted exercises. Start by choosing two similar colors and applying them side by side. Use a light hand to layer one color over the other, gradually mixing them.
Next, try blending complementary colors. Apply one color in a circular motion, then overlay it with the opposite color, adjusting pressure to achieve a smooth transition.
Another effective exercise is creating a gradient. Begin with a dark shade and gradually add lighter tones, ensuring a seamless blend.
Finally, practice blending three colors together in a stripe pattern, focusing on smooth transitions. Consistent practice with these exercises will boost your confidence and enhance your blending abilities.
Frequently Asked Questions
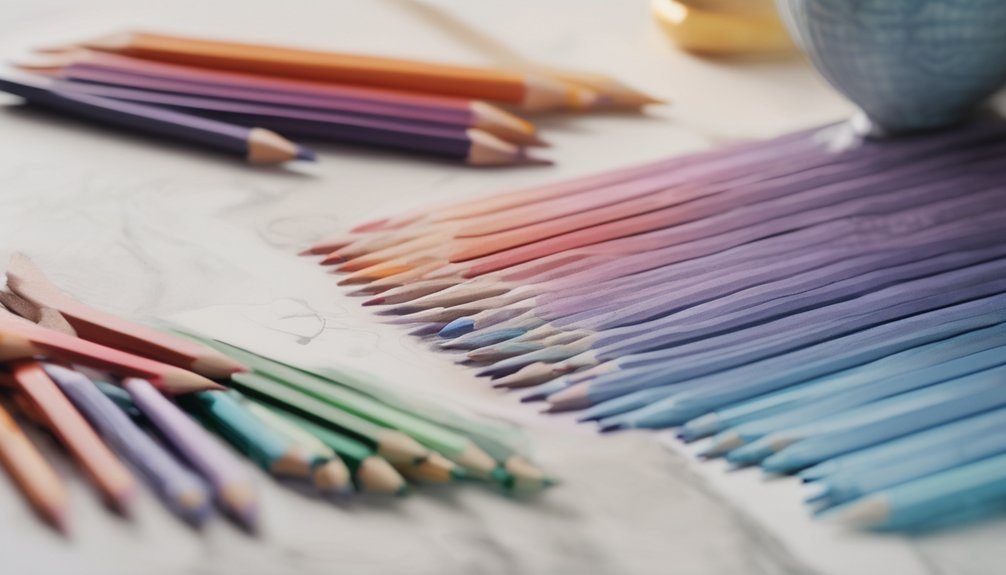
What Colors Work Best Together for Smooth Blending?
Warm colors like reds, oranges, and yellows blend beautifully together, while cool colors such as blues, greens, and purples create harmony. Experiment with analogous colors for seamless transitions and enjoy the creative process.
How Do I Fix Mistakes While Blending Colors?
You can fix mistakes by gently erasing or lightening the area with a blending tool. If it’s too dark, layer lighter colors over it, or use a cotton swab to soften the edges.
Can I Blend Colors With Markers?
Yes, you can blend colors with markers! Use alcohol-based markers for smoother blending. Layer colors lightly and work quickly; you can also use a colorless blender to help achieve a seamless transition between shades.
What Paper Type Is Best for Blending Colors?
Imagine a canvas that drinks in your colors; smooth, heavyweight paper is best for blending. It holds the pigments like a sponge, allowing you to create seamless transitions and vibrant masterpieces that leap off the page.
How Do I Clean My Coloring Tools After Blending?
To clean your coloring tools after blending, wipe them with a damp cloth or use mild soap and water. For brushes, rinse thoroughly, reshape the bristles, and let them dry flat to maintain their quality.
Conclusion
Now that you know the essentials of blending colors smoothly in your coloring books, why not dive in and give it a try? With the right tools and techniques, you can transform simple illustrations into vibrant masterpieces. Remember, practice makes perfect, so don’t hesitate to experiment and find what works best for you. Soon enough, you’ll be creating stunning gradients that bring your artwork to life. Happy coloring!