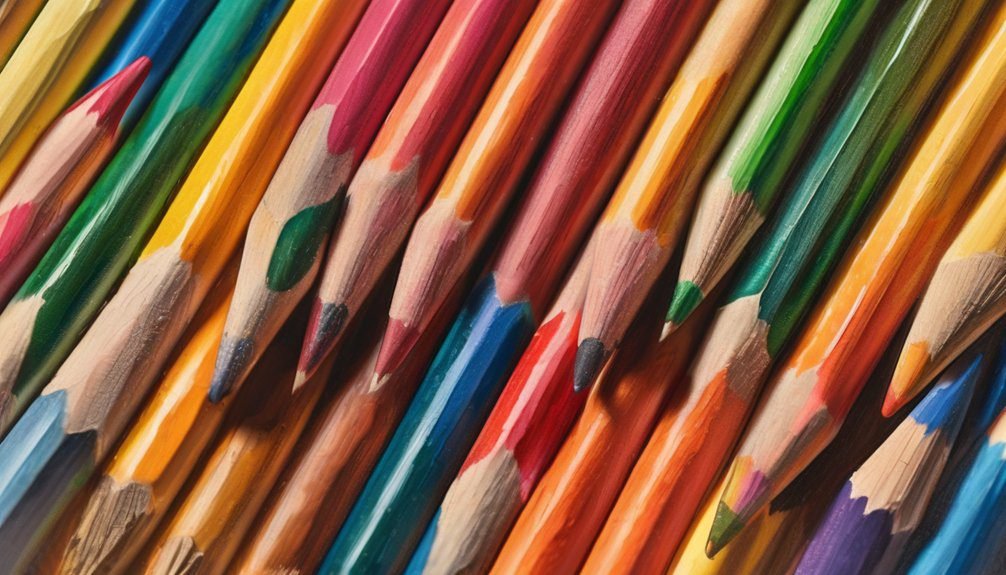
When it comes to adding shading and depth to your artwork, understanding the fundamentals of light and shadow is crucial. You’ll find that blending techniques can create smooth transitions, while layering colors adds richness. Don’t underestimate the power of contrasting colors to bring your pieces to life. As you explore various texture techniques, you’ll uncover new ways to enhance realism. But what specific methods will elevate your work to the next level?
Key Takeaways
- Use layering techniques to build depth by applying base colors followed by darker or lighter shades for dimension.
- Implement blending techniques with soft tools to create smooth transitions between colors and enhance shading effects.
- Experiment with contrasting colors from opposite sides of the color wheel to highlight focal points and add vibrancy.
- Incorporate texture techniques like stippling and cross-hatching to add realism and visual interest to your artwork.
- Allow each layer to dry before adding more to achieve optimal results and maintain clarity in shading.
Understanding Light and Shadow
When you grasp how light interacts with objects, you’ll find it easier to create realistic shading in your artwork. Light travels in straight lines, illuminating surfaces that face it while casting shadows on those that don’t.
Pay attention to the light source’s position; it dramatically affects how shadows form and where highlights appear. For instance, a light source above an object creates shadows underneath, while side lighting emphasizes textures.
Notice how different materials reflect or absorb light—metallic surfaces shine brightly, while matte surfaces soften shadows. By understanding these principles, you can depict depth and dimension in your drawings.

Practice observing everyday objects under various lighting conditions to deepen your understanding of light and shadow dynamics.
Blending Techniques for Smooth Transitions
To achieve smooth transitions in your shading, mastering blending techniques is essential. Start by using a soft blending tool, like a blending stump or your finger, to gently mix colors together. Apply light pressure to avoid damaging your paper.
You can also use a colorless blender pencil, which helps merge colors seamlessly without altering their hues. When using colored pencils, layer your colors lightly before blending; this creates a richer texture. Remember to work in small sections, gradually building up the shades.
For markers, try using a lighter shade to soften the edges of darker colors. Lastly, practice patience—perfecting your blending technique will take time, but the stunning results will be worth the effort!
Layering Colors for Depth
Although it might seem tempting to apply colors haphazardly, layering colors thoughtfully is key to creating depth in your artwork. Start with a base color, applying it evenly to establish a foundation.
Once that’s dry, add a second layer using a slightly darker or lighter shade of the same color. This technique enhances dimension and invites the viewer’s eye to explore the piece.
Enhance dimension in your artwork by layering slightly darker or lighter shades to draw the viewer’s eye.
Don’t be afraid to experiment with opacity; transparent layers can create stunning effects. Use a light touch and build gradually, allowing each layer to dry before adding more.
By combining colors in this way, you’ll achieve a rich, dynamic look that makes your artwork pop and captivates your audience.
Happy layering!
Utilizing Contrasting Colors

Utilizing contrasting colors can transform your artwork, creating a striking visual impact that draws attention. By pairing colors from opposite sides of the color wheel, you’ll achieve vibrant contrasts that enhance depth and dimension.
For instance, if you’re working with a warm orange, consider using a cool blue to make it pop. This not only highlights your focal points but also adds an exciting energy to your piece.
Don’t hesitate to experiment with different combinations; sometimes, unexpected pairings yield the best results.
Texture Techniques to Enhance Realism
When you incorporate texture techniques into your artwork, you’re not just adding visual interest; you’re enhancing realism. By using various methods like stippling, cross-hatching, or layering, you create depth that brings your pieces to life. For instance, think about how fur, skin, or fabric behaves in reality. Each has unique textures that you can mimic in your coloring.
Here’s a quick reference table for different texture techniques:
| Technique | Description | Effect |
|---|---|---|
| Stippling | Dots create texture | Adds dimension and depth |
| Cross-Hatching | Overlapping lines | Enhances shading and form |
| Layering | Multiple color applications | Builds richness and complexity |
Experiment with these techniques to find what best suits your style and subject!
Experimenting With Different Mediums
As you explore different mediums, you’ll discover unique ways to enhance your shading techniques. Whether you’re using colored pencils, markers, or watercolors, each medium offers distinct characteristics that can elevate your work.
For instance, colored pencils allow for precise layering, enabling you to build depth gradually. Markers, on the other hand, can produce bold, vibrant shadows quickly. Watercolors provide a soft, blended effect that can create stunning gradients.
Don’t hesitate to experiment with mixed media, combining different tools for richer textures. Try layering colored pencils over watercolor or using markers to outline your pencil sketches.
Frequently Asked Questions
What Tools Are Best for Achieving Fine Details in Shading?
You’ll find that fine-tipped colored pencils, blending stumps, and fine liners work best for achieving detailed shading. Experiment with these tools to create depth and texture in your artwork, enhancing your overall coloring experience.
How Can I Fix Mistakes in My Shading Technique?
When you notice a mistake in your shading, simply soften the area with a blending tool, then subtly layer lighter tones to smooth transitions. Practice patience, and perfect your technique with persistence and playful exploration.
Is There a Specific Order for Applying Colors?
There isn’t a strict order for applying colors, but starting with lighter shades helps build depth. Layering darker tones afterward adds richness. Experimenting will help you find what works best for your unique style.
How Do I Choose Colors for Realistic Shading?
Choosing colors for realistic shading’s like mixing a perfect cocktail; you need balance. Start with a base tone, then layer darker shades for shadows and lighter ones for highlights, blending smoothly for depth and dimension.
Can I Use Digital Tools for Traditional Shading Techniques?
Absolutely, you can use digital tools to replicate traditional shading techniques. Software like Photoshop or Procreate allows you to blend colors and create depth, giving you flexibility while achieving realistic results in your artwork.
Conclusion
As you explore these coloring techniques, you might just stumble upon a unique style that reflects your creativity. By understanding light and shadow, blending smoothly, and experimenting with colors, you’ll find your artwork bursting with life and depth. Remember, it’s often those happy accidents—like a perfectly blended hue or an unexpected texture—that lead to your most captivating pieces. So grab your tools, let your imagination run wild, and watch your art come alive in ways you never expected!