Did you know that the type of paper you use can significantly impact the outcome of your colored pencil work? It’s not just about having good pencils; the right surface can enhance your colors and techniques. By choosing specific tools and understanding essential techniques, you can elevate your art to new levels. Let’s explore the nuances that can make a real difference in your colored pencil creations.
Key Takeaways
- Choose high-quality colored pencils, focusing on pigment quality and whether they are wax-based or oil-based for your desired effects.
- Select smooth or textured paper based on the level of detail and layering you plan to achieve with your artwork.
- Start with light pressure to create a base layer, gradually building up color for depth and richness.
- Utilize blending techniques like circular motions or layering colors to achieve smooth transitions and gradients.
- Experiment with tools like blending stumps and colorless blenders for seamless blending and effects on your artwork.
Choosing the Right Colored Pencils
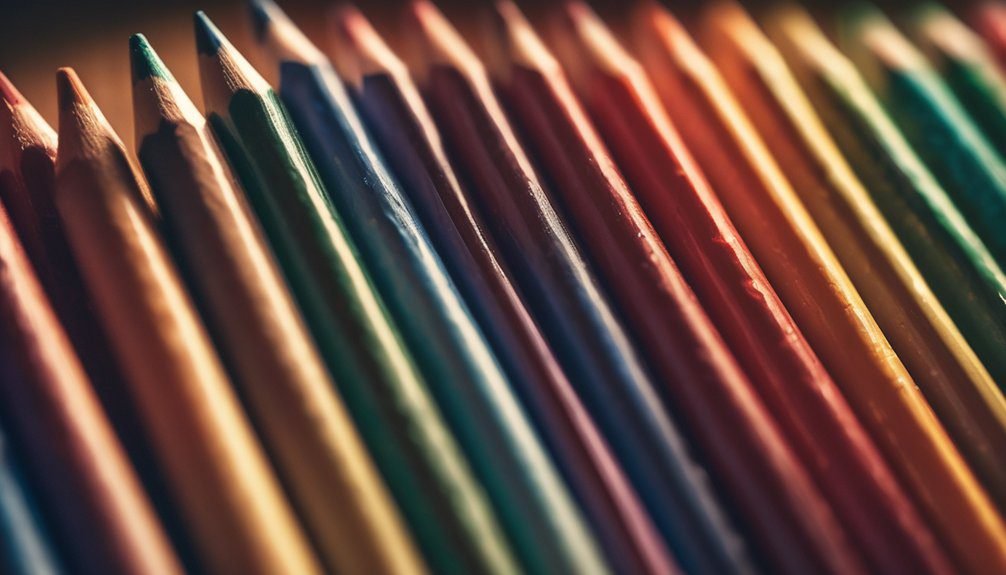
Choosing the right colored pencils is crucial for achieving the best results in your artwork. Start by considering the pencil’s pigment quality. Higher-quality pencils offer richer colors and better blending capabilities.
You’ll want to choose between wax-based and oil-based pencils; wax-based ones are creamy and vibrant, while oil-based pencils provide smoother application and less wax bloom. Check the pencil’s hardness; softer leads allow for more vibrant colors, while harder leads are great for precision.
Look for a set that includes a range of colors, ensuring you can mix and layer effectively. Lastly, don’t overlook the brand reputation; established brands often guarantee consistency in quality.
With careful selection, you’ll elevate your coloring experience and bring your artistic vision to life.

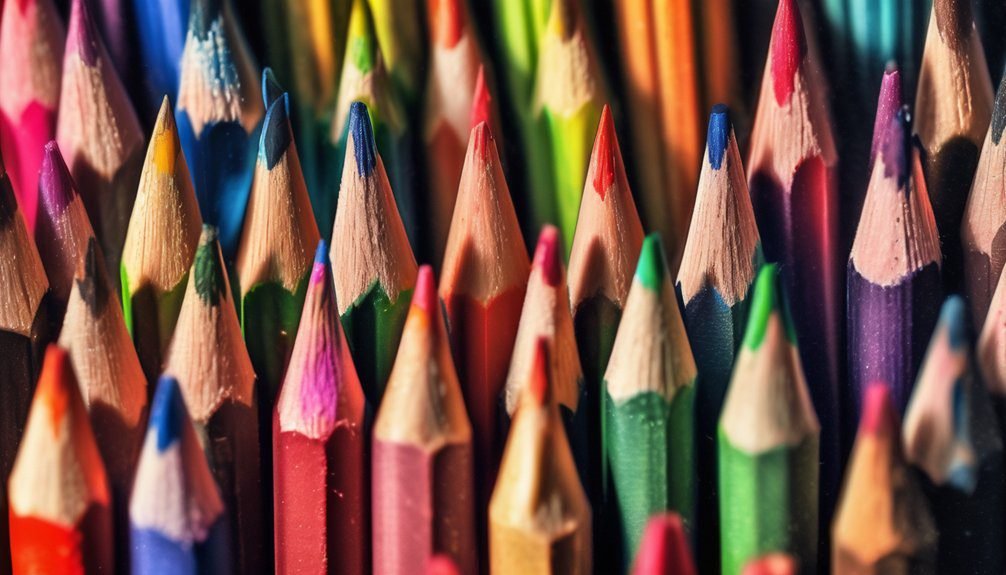
Understanding Paper Types for Colored Pencils
When it comes to coloring with pencils, the type of paper you use can significantly impact your results. For colored pencils, smooth paper is perfect for detailed work, allowing for fine lines and intricate designs.
If you prefer layering colors, look for textured paper; it helps the pencil grip and builds depth. Heavier paper, like cardstock, can handle more pressure and multiple layers without warping. Make sure the paper is acid-free to prevent yellowing over time.
You might also want to experiment with mixed media paper, which often combines qualities of both smooth and textured options. Ultimately, the right paper will enhance your coloring experience and help your artwork shine.
Choose wisely, and let your creativity flow!
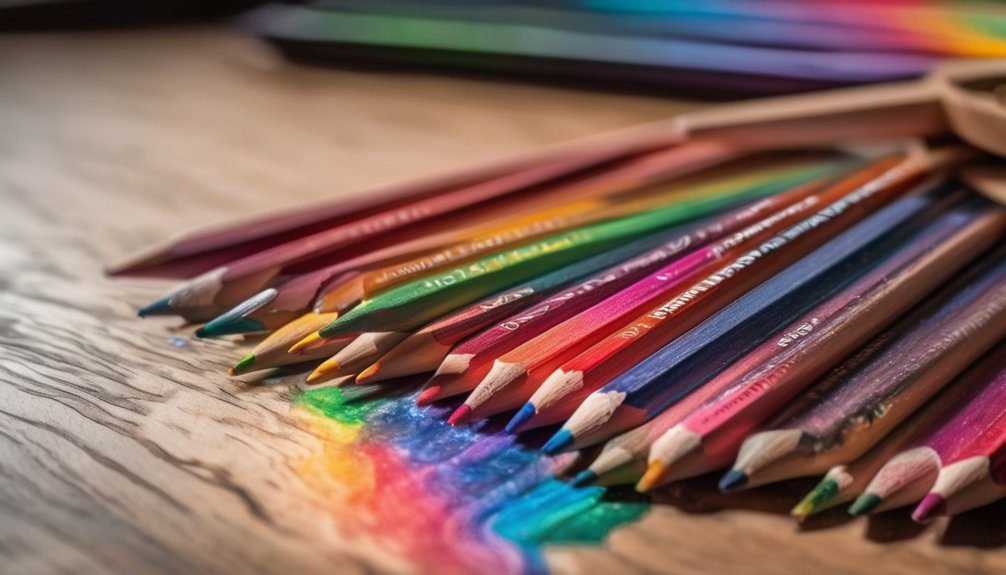
Essential Tools for Colored Pencil Art
Having the right tools is crucial for creating stunning colored pencil art. Start with a good set of colored pencils; brands like Prismacolor and Faber-Castell are popular for their vibrant colors and smooth application.
You’ll also need a sharpener, preferably one designed specifically for colored pencils to avoid breaking the leads. A blending stump or tortillon helps you blend colors seamlessly, while a kneaded eraser can lift unwanted marks without damaging your paper.
Consider investing in a colorless blender pencil for additional blending options. Lastly, a sturdy sketchbook or drawing board ensures your workspace is stable.
With these essential tools, you’ll be well-equipped to dive into your colored pencil journey and bring your artistic visions to life.
Basic Techniques for Coloring
Mastering basic techniques for coloring with colored pencils can elevate your artwork significantly.
Start by holding the pencil lightly, letting it glide across the paper. Use the side of the pencil for broader strokes, which helps fill in larger areas quickly. For fine details, switch to the tip of the pencil, applying gentle pressure to achieve precision.
Experiment with different angles to see how they affect your strokes. Try varying your pressure; lighter strokes create softer colors, while harder strokes produce richer tones. Remember to keep your pencils sharp for clean lines.
Lastly, practice filling in shapes completely without leaving gaps, ensuring a smooth and consistent finish. These fundamental techniques will set a solid foundation for your coloring journey.
Blending and Layering Techniques
To achieve vibrant and seamless transitions in your colored pencil artwork, blending and layering techniques are essential. Start by applying a base layer of color lightly, building up gradually. This allows you to control the intensity and create a smooth foundation.
Once your base is set, you can blend colors together using a soft, circular motion or by layering different hues on top of each other. Try using a colorless blender or a lighter pencil to smooth out harsh lines and enhance the transition.
Don’t be afraid to experiment with pressure; pressing harder creates richer colors, while lighter strokes yield softer effects. Remember, patience is key—layering takes time but results in stunning, dynamic artwork.
Shading and Creating Depth
While you might think that color alone defines your artwork, shading plays a crucial role in creating depth and dimension. Start by identifying your light source; this will help you determine where shadows should fall.
Use a lighter pencil to lay down your base color, then select a darker shade to add depth in the shadowed areas. Apply these darker tones gradually, building up layers to create a smooth transition.
Start with a lighter pencil for your base color, then layer darker shades gradually for depth and smooth transitions.
Remember to use a light touch; pressure can alter the pencil’s intensity. Incorporate cross-hatching or circular motions to blend seamlessly.
Don’t forget to practice on scrap paper to refine your technique. With time and patience, you’ll master the art of shading, giving your artwork that realistic touch.
Adding Highlights and Textures
After establishing shadows and depth, highlights and textures can bring your artwork to life. Start by identifying the light source in your piece. Use a white or light-colored pencil to add highlights where the light hits the surface. Apply gentle pressure to create a luminous effect; you want these areas to pop without overpowering the base colors.
For texture, experiment with different pencil strokes—cross-hatching, stippling, or swirling can add dimension. Layering colors can also enhance texture; for instance, blend a slightly darker shade over a lighter base to mimic the look of fur or fabric.
Remember to step back and assess your work; adjustments can help refine those highlights and textures for a more polished finish.
Fixatives and Preservation
Fixatives play a crucial role in preserving your colored pencil artwork, ensuring it remains vibrant and intact over time. When you finish a piece, applying a fixative can protect it from smudging and fading.
Applying a fixative is essential for keeping your colored pencil artwork vibrant and protected from smudging and fading.
Here are four tips to keep in mind:
- Choose the Right Fixative: Opt for a spray fixative specifically designed for colored pencils to avoid altering colors.
- Test First: Always test the fixative on a scrap piece to see how it reacts with your pencils.
- Apply Evenly: Hold the spray can about 12 inches away and apply in light, even coats.
- Allow to Dry: Let each layer dry completely before adding more or handling your artwork.
This will help maintain the quality of your creations!
Experimenting With Mixed Media
Preserving your colored pencil artwork opens up exciting possibilities for experimentation, especially when you start mixing different media. You can enhance your pieces by incorporating watercolor, ink, or pastels alongside your colored pencils.
Begin by applying a light wash of watercolor to create backgrounds or gradients. Once dry, add depth and detail with your colored pencils.
Alternatively, try using ink pens for outlines or intricate designs, allowing the vibrant colors of your pencils to pop. Pastels can add texture and softness, blending beautifully with colored pencils.
Don’t be afraid to explore; layering different materials can yield stunning effects. Just remember to test combinations on scrap paper first, ensuring you achieve the desired look without compromising your artwork.
Happy experimenting!
Frequently Asked Questions
How Do I Sharpen Colored Pencils Effectively?
To sharpen colored pencils effectively, use a quality sharpener designed for them. Turn the pencil gently while inserting it, avoiding too much pressure. You’ll get a fine point without breaking the lead easily.
Can I Use Colored Pencils on Canvas?
Yes, you can use colored pencils on canvas. Just make sure to choose a textured canvas for better adherence. Layer your colors for depth, and consider sealing your artwork to protect it from smudging.
What Is the Best Way to Store Colored Pencils?
A place for everything and everything in its place. You should store your colored pencils in a cool, dry location, ideally in a case or container that keeps them organized and prevents breakage.
How Long Do Colored Pencils Last?
Colored pencils can last for years if you store them properly and use them wisely. With good care, you’ll enjoy their vibrant colors for a long time, making your artwork shine beautifully, session after session.
Are There Eco-Friendly Colored Pencil Options Available?
Yes, there are eco-friendly colored pencil options available. Look for brands that use recycled materials or natural pigments. These choices allow you to enjoy coloring while being mindful of the environment and reducing your carbon footprint.
Conclusion
Incorporating colored pencils into your art is like adding vibrant life to a blank canvas. By selecting the right pencils, understanding your paper, and mastering essential techniques, you’re well on your way to creating stunning artwork. Remember, patience is your best friend as you layer and blend to achieve depth and texture. So grab your pencils, unleash your creativity, and watch your visions come alive with every stroke! Happy coloring!