Did you know that over 60% of beginner artists struggle with blending techniques? Mastering these methods can significantly elevate your artwork and create smoother transitions. You’ll find various approaches, from the wet-on-wet method to layering colors, each offering unique benefits. Understanding these techniques can transform your artistic expression. So, what are the key blending techniques that can help you build confidence and improve your skills? Let’s explore them together.
Key Takeaways
- Start with the wet-on-wet technique for smooth color transitions by applying wet paint on a wet surface.
- Use blending stumps for softening pencil or charcoal marks, achieving a polished appearance.
- Layer colors gradually to build depth and complexity in your artwork without overwhelming the base layer.
- Practice creating gradients by focusing on transitioning between adjacent colors on the color wheel.
- Experiment with various tools like sponges and brushes to discover unique blending effects and textures.
Understanding Color Theory
Color theory is the foundation of all blending techniques, and understanding it can transform your artistic expression. When you grasp the relationships between colors, you can create harmony in your work.
Start by learning about the color wheel, where primary colors blend into secondary and tertiary hues. Mixing complementary colors can produce striking contrasts, while analogous colors offer a more subtle transition.
Understanding the color wheel is essential; it reveals how primary colors create secondary and tertiary hues, enhancing your artistic transitions.
Pay attention to warm and cool tones; they evoke different emotions and can enhance your compositions. Experiment with saturation and brightness to achieve depth and dimension.
By mastering these principles, you’ll make informed choices in your blending techniques, allowing your art to resonate more powerfully with viewers.

Dive into color theory, and watch your creativity flourish!
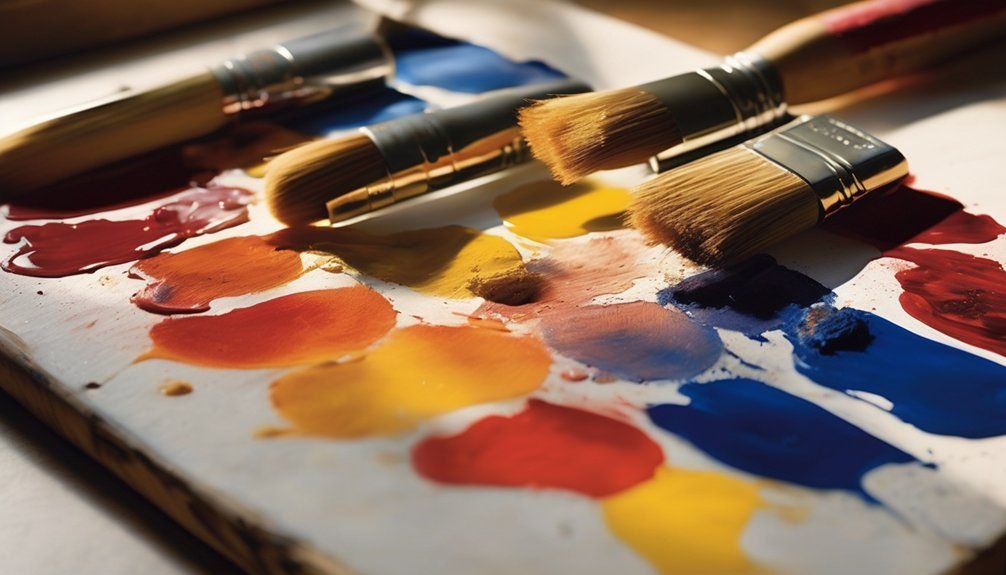
Essential Blending Tools
Understanding color theory sets the stage for choosing the right blending tools that can enhance your artistic practice.
Start with blending stumps, which are perfect for smudging pencil or charcoal, creating soft transitions. If you’re working with pastels or chalks, use a soft brush to gently blend colors together.
For painting, consider a palette knife to mix colors directly on your palette, giving you control over texture. A sponge can also be handy for creating unique effects in acrylics or watercolors.
Finally, don’t underestimate your fingers; they can be effective for blending and adding a personal touch.
Experiment with these tools to discover what works best for your style and medium, and watch your artwork come to life!
The Wet-on-Wet Technique
While you might be familiar with traditional painting techniques, the wet-on-wet technique opens up a world of possibilities for creating vibrant, fluid artworks. This method involves applying wet paint onto wet surfaces, allowing colors to blend seamlessly.
Here’s how to make the most of it:
- Choose Your Paints: Use watercolors or acrylics that maintain fluidity when wet.
- Prepare Your Surface: Wet your canvas or paper before applying the paint to enhance blending.
- Layer Colors: Start with lighter shades and gradually add darker tones to create depth.
- Experiment: Don’t be afraid to mix colors directly on the canvas for unique effects.
With practice, you’ll master this technique and unlock endless creative potential!
The Dry Brush Technique

After mastering the wet-on-wet technique, it’s time to explore the dry brush technique, which offers a stark contrast in texture and application.
This method involves using a dry brush with minimal paint, allowing you to create rough, textured effects. Start by loading your brush with a small amount of paint, then wipe most of it off on a paper towel.
Lightly drag the brush across your surface, letting the bristles skip over the texture of the canvas or paper. You’ll achieve a soft, almost scratchy effect that adds dimension.
Experiment with different brushes and pressures to see how it alters your strokes. This technique’s versatility makes it perfect for adding details or highlighting elements in your artwork.
Layering Colors for Depth
To create a sense of depth in your artwork, layering colors is essential. This technique helps you build complexity and richness, making your pieces more engaging.
Here are four key tips to master layering:
- Start with a Base Color: Lay down a foundational color to establish the mood and tone of your piece.
- Add Transparent Layers: Use transparent colors for subsequent layers to create depth without overwhelming the base.
- Vary Color Intensity: Mix lighter and darker shades to create highlights and shadows, enhancing the three-dimensional feel.
- Blend Edges: Soften the transitions between colors to achieve a seamless look, ensuring your layers work harmoniously together.
Using Blending Stumps
Blending stumps are invaluable tools for achieving smooth transitions in your artwork. These tapered tools, often made of compressed paper, allow you to blend colors seamlessly without using your fingers.
To use a blending stump, start by applying your colors as you normally would. Then, gently rub the stump over the area you want to blend, using small circular motions. This technique helps to soften harsh lines and create a more polished look.
Remember to keep your stumps clean; you can wipe them on a paper towel or sand them lightly if they become too dirty. Experiment with different pressures to see how it affects the blending.
With practice, you’ll find blending stumps enhance your artistic style beautifully.
The Smudging Technique
Smudging is a technique that can add depth and texture to your artwork, creating a softer, more fluid appearance. It’s perfect for blending colors seamlessly and enhancing your overall composition.
Smudging adds depth and texture to artwork, creating a soft, fluid look that enhances color blending and overall composition.
To master the smudging technique, keep these tips in mind:
- Use the Right Tools: Experiment with your fingers, blending stumps, or cloth for different effects.
- Apply Light Pressure: Start gently; too much pressure can damage the paper or create unwanted marks.
- Work in Layers: Build your colors gradually, allowing for more control and depth.
- Practice: Try smudging on scrap paper before applying it to your main piece to understand how it reacts.
Embrace smudging to elevate your artistic expression!
Creating Gradients
Creating gradients can transform your artwork, lending it a dynamic and polished look. To create effective gradients, you’ll want to focus on color transitions, blending techniques, and application methods. Start by choosing a color palette that complements your work.
Here’s a simple visual representation to guide you:
| Color 1 | Blend Method | Color 2 |
|---|---|---|
| Light Blue | Circular Blending | Dark Blue |
| Yellow | Linear Blending | Orange |
| Light Green | Radial Gradient | Dark Green |
| Pink | Soft Smudge Technique | Red |
| Purple | Cross-Hatching | White |
Experiment with these combinations, and don’t hesitate to adjust the opacity to achieve smoother transitions. Happy blending!
Practice Exercises for Improvement
To enhance your blending skills, it’s essential to engage in targeted practice exercises that focus on different techniques. Here are four effective exercises you can try:
- Color Wheel Blending: Use a color wheel to practice blending adjacent colors smoothly. This helps you understand color relationships.
- Layering Techniques: Apply multiple layers of colors, gradually building up to achieve a seamless blend. Experiment with different pressure levels.
- Gradient Plots: Create small gradient plots by transitioning from one color to another. This will help you master smooth gradients.
- Texture Blending: Use various materials (like sponges or brushes) to explore blending textures. This adds depth and interest to your work.
Regularly practicing these exercises will significantly improve your blending techniques and boost your confidence as an artist.
Frequently Asked Questions
What Types of Surfaces Are Best for Blending Techniques?
You’ll find smooth surfaces like Bristol board or canvas ideal for blending. They allow colors to mix seamlessly. Experiment with textured paper too; it can add depth to your blends, enhancing your overall artwork.
Can Blending Techniques Be Used With Any Medium?
Absolutely, you can use blending techniques with any medium. Imagine creating a stunning watercolor sunset; blending those colors smoothly can evoke emotion and depth, making your artwork truly captivating and vibrant, regardless of the medium you choose.
How Do I Clean My Blending Tools?
To clean your blending tools, rinse them under warm water, using mild soap if needed. Gently scrub with a brush or cloth to remove residue, then let them air dry completely before storing.
What Common Mistakes Should Beginners Avoid When Blending?
You should avoid rushing the process, using too much product, or not blending thoroughly. Don’t forget to experiment with different techniques, and always clean your tools regularly to maintain the best results in your blending.
How Long Does It Take to Master Blending Techniques?
It typically takes several months to master blending techniques, but don’t rush it. Practice consistently, be patient with yourself, and you’ll notice improvement. Enjoy the process, and you’ll find your skills developing naturally over time.
Conclusion
As you dive into these blending techniques, remember that practice makes perfect—just like mastering the art of flipping a pancake! Embrace color theory, experiment with tools, and explore each technique to find your unique style. Whether you’re creating dreamy landscapes or vibrant portraits, blending will elevate your artwork. So grab your brushes and let your creativity flow; soon enough, you’ll be blending like a pro, turning your canvas into a masterpiece!