Sometimes, what seems like a little hiccup in your coloring can actually lead to unexpected creativity. When you find yourself facing a stray mark or an overzealous color choice, there are effective ways to turn these moments around. From erasing to blending, each technique offers a chance to refine your work. Discover how these methods can transform your mistakes into opportunities that elevate your art.
Key Takeaways
- Use a quality eraser to gently remove pencil marks without tearing the paper.
- Blend mistakes using a blending tool and lighter shades for seamless corrections.
- Cover errors with a white gel pen for vibrant, opaque corrections and highlights.
- Layer a matching colored pencil to adjust colors without overwhelming the original hue.
- Embrace mistakes as creative opportunities to enhance your artistic journey.
Embrace the Eraser: How to Remove Pencil Marks
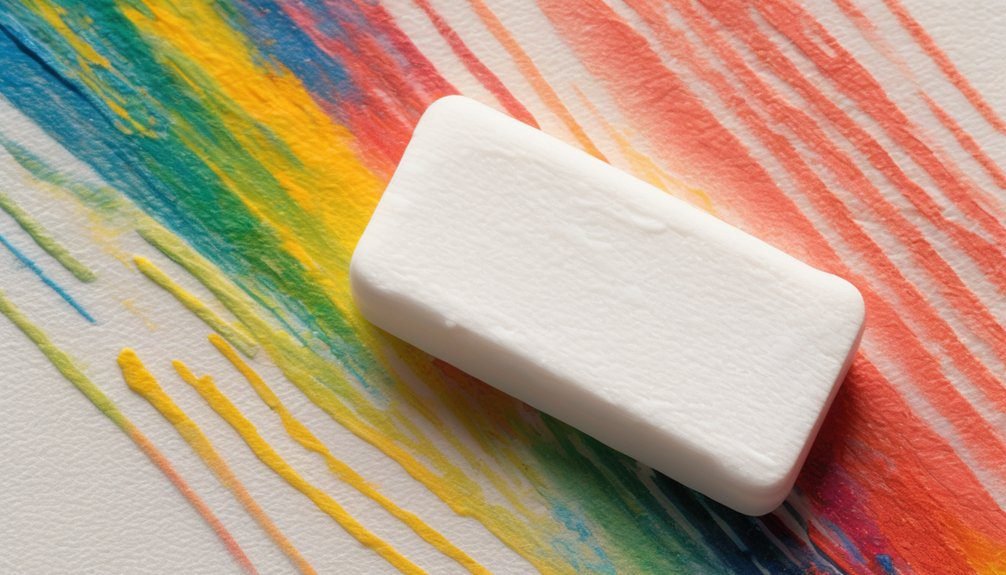
Have you ever wondered how to effectively erase those pesky pencil marks that can ruin your artwork? It’s simpler than you might think!
Start by choosing a good-quality eraser; a kneaded eraser works wonders, as it gently lifts graphite without damaging your paper. Lightly dab or roll the eraser over the marks instead of scrubbing—this prevents tearing and preserves your artwork’s integrity.
If you’re dealing with stubborn lines, try using an eraser shield to protect surrounding areas. Remember to work slowly; rushing can lead to smudges.
Once you’ve removed the unwanted marks, you can refine your coloring without distractions. Embrace the eraser, and don’t let those pencil lines hold you back from creating your masterpiece!

Blending Techniques for Smooth Corrections
While mistakes in coloring can be frustrating, blending techniques offer a way to seamlessly correct them. Start by choosing a blending tool that suits your medium—like a blending stump for colored pencils or a soft brush for markers.
Gently apply a lighter shade or white to the area around the mistake, using circular motions to feather the edges. This softens the transition, making the correction less noticeable. If you’re using colored pencils, try layering colors gradually; this helps to blend the mistake into the surrounding area.
Gently feather the edges with a lighter shade to seamlessly blend corrections into your artwork.
Remember to keep your strokes light and controlled. By practicing these techniques, you’ll gain confidence in correcting errors without compromising the overall look of your artwork.
Happy blending!
Covering up Mistakes With White Gel Pens
Blending techniques can help smooth out color mistakes, but sometimes a more direct approach is needed. White gel pens are perfect for covering up those pesky errors. With their vibrant, opaque ink, you can reclaim your artwork.
Here’s why you’ll love using them:
- Instantly brightens any area, bringing life back to your piece.
- Easily corrects stray marks or over-the-line coloring.
- Adds highlights, giving depth to your work.
- Perfect for creating stunning effects like stars or light reflections.
- Quick-drying, so you won’t worry about smudging.
Next time you find a mistake, grab that white gel pen and let your creativity flow! You’ll be amazed at how effortlessly you can turn errors into beautiful opportunities.
Using Colored Pencils to Fix Color Choices
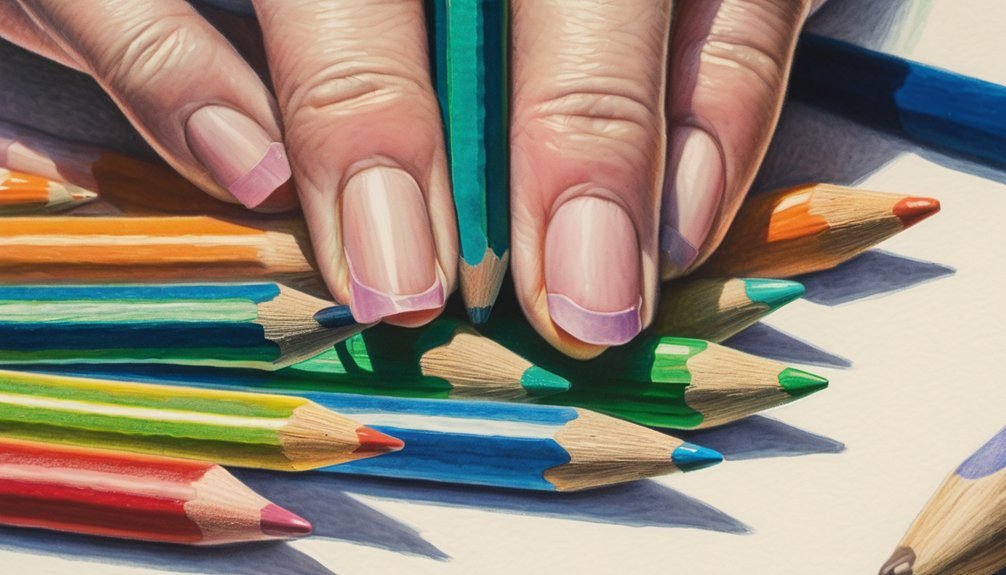
Sometimes, when you realize a color choice doesn’t quite fit your vision, colored pencils can be your best ally in making adjustments.
Grab a colored pencil that matches your desired hue, and gently layer it over the area you want to change. This technique allows for better control, letting you blend colors seamlessly without overpowering the original shade.
Don’t forget to test the pencil on a scrap piece first to ensure it aligns with your vision. You can use lighter strokes for subtle changes or press harder for more intensity.
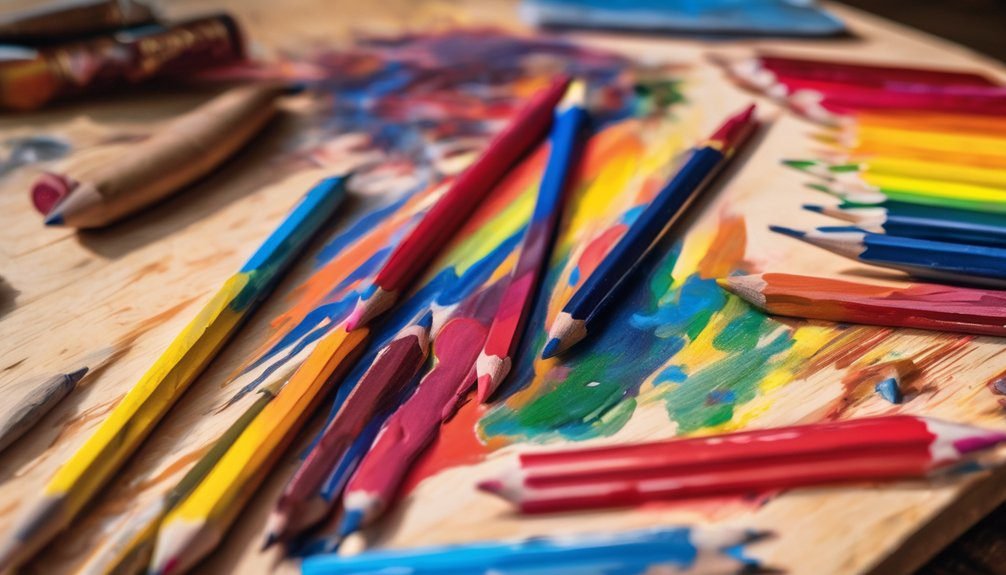
Enhancing Your Artwork With Additional Layers
To truly elevate your artwork, consider adding additional layers of color and texture. This technique can transform your piece, making it more vibrant and dynamic.
Each layer adds depth, inviting viewers to connect with your vision.
Each layer enriches your piece, fostering a deeper connection between your vision and the viewer’s experience.
Here are some ways to enhance your artwork:
- Create depth: Layering colors gives a three-dimensional feel.
- Add richness: Multiple layers can intensify hues, bringing them to life.
- Introduce contrast: Use lighter shades on top of darker ones for striking effects.
- Enhance details: Fine-tuning with layers can refine your work and make features pop.
- Evoke emotion: Different color combinations can stir feelings, drawing viewers in.
Experiment with layers, and watch your artwork flourish!
Incorporating Mixed Media for Creative Fixes
While traditional painting techniques can create beautiful effects, incorporating mixed media can offer innovative solutions to fix coloring mistakes and enhance your artwork. You can use materials like colored pencils, pastels, or even collage elements to transform errors into creative opportunities. Here’s a quick overview of some mixed media options:
| Medium | Fixing Capability |
|---|---|
| Colored Pencils | Add detail and texture |
| Pastels | Blend and soften colors |
| Collage | Cover mistakes and add layers |
Experimenting with these mediums not only conceals issues but also adds depth and dimension to your piece. Don’t hesitate to layer different materials; they can work together beautifully, bringing new life to your artwork!
Transforming Errors Into New Artistic Opportunities
Rather than seeing mistakes as failures, you can view them as stepping stones to new artistic possibilities.
When you embrace errors, you open doors to creativity that you mightn’t have explored otherwise.
Here’s how to transform those mistakes into opportunities:
- Discover unique color blends: Unexpected combinations can lead to stunning new shades.
- Create texture: Mistakes can inspire you to add depth and dimension to your work.
- Fuel your imagination: A simple error can spark an entirely new concept or theme.
- Encourage experimentation: Mistakes push you to try techniques you wouldn’t normally consider.
- Embrace the journey: Each misstep becomes part of your evolving artistic story.
Maintaining a Positive Mindset While Coloring
Although coloring can sometimes feel daunting, maintaining a positive mindset can transform the experience into a joyful journey. When you approach each page with excitement, every stroke of your pencil becomes an opportunity for self-expression.
Remember, it’s not just about creating a perfect picture; it’s about enjoying the process. When mistakes happen, instead of feeling frustrated, embrace them as part of your artistic growth. Use those errors to spark new ideas or techniques.
Celebrate your unique style, and don’t compare yourself to others. Keep your coloring sessions light-hearted and fun, and allow your creativity to flow freely.
Frequently Asked Questions
Can I Fix Mistakes on Textured Paper?
Yes, you can fix mistakes on textured paper. Try using blending tools, white ink, or colored pencils to cover errors. Don’t worry too much; experimenting can lead to unique effects and enhance your artwork.
How Do I Prevent Color Bleeding During Corrections?
To prevent color bleeding during corrections, use a light hand when applying color, work in thin layers, and allow each layer to dry completely before adding more. Test colors on scrap paper first, too.
What Types of Erasers Work Best for Colored Pencils?
Did you know that nearly 70% of artists prefer kneaded erasers for colored pencils? You’ll find that kneaded and vinyl erasers work best, as they lift color without damaging your paper or leaving residue behind.
Is It Possible to Fix Mistakes on Digital Coloring?
Yes, you can fix mistakes in digital coloring! Use the undo function, layer adjustments, or eraser tools. Experiment with blending modes and adjustments to achieve the desired effect. It’s all about creativity and practice!
How Can I Avoid Making Mistakes While Coloring?
To avoid mistakes while coloring, plan your color palette beforehand, use layers for different elements, zoom in for detail, and take breaks to refresh your eyes. Practice consistently, and you’ll see improvement over time.
Conclusion
In the grand tapestry of your artwork, mistakes aren’t just bumps in the road; they can be the vibrant strokes that make your piece truly unforgettable. By embracing these errors and employing various correction techniques, you can transform your coloring journey into an exhilarating adventure. Remember, every misstep is a chance to innovate and grow as an artist. So, keep that positive mindset, and let your creativity shine brighter than a thousand suns!