Choosing the right pencils, selecting quality paper, and mastering basic techniques are essential steps for beginners in coloring. You might feel overwhelmed by the options available or unsure where to start. However, understanding these fundamental aspects can significantly enhance your experience and results. Once you grasp these basics, you can unlock your creativity and truly enjoy the process of coloring. Let’s explore how you can elevate your skills and find your unique artistic voice.
Key Takeaways
- Start with colored pencils for vibrant colors and easy control, ideal for beginners.
- Use heavier, acid-free paper (at least 200 gsm) to prevent bleeding and ensure durability.
- Experiment with layering colors; begin with light pressure and gradually build for depth.
- Utilize blending tools like stumps and colorless blenders to create smooth transitions.
- Practice shading by identifying a light source and layering colors for realistic effects.
Understanding Different Types of Coloring Pencils
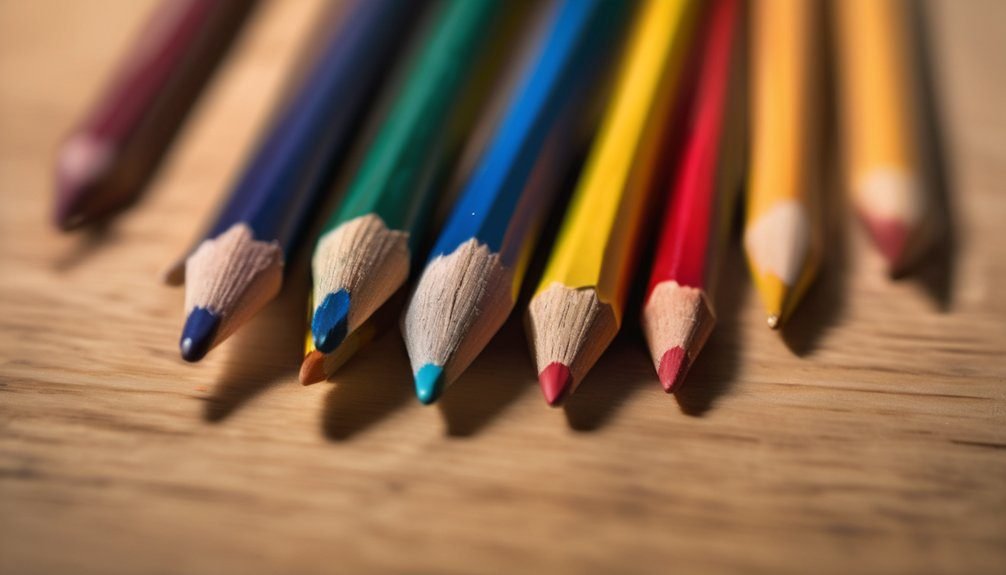
When diving into the world of coloring, it’s essential to understand the different types of coloring pencils available. You’ll typically find three main varieties: colored pencils, watercolor pencils, and oil-based pencils.
Colored pencils are your go-to for vibrant, straightforward coloring. They’re easy to control and perfect for layering and blending.
Watercolor pencils, on the other hand, allow you to create beautiful washes of color when wet, giving you more versatility.
Lastly, oil-based pencils offer a creamy texture, making them great for smooth application and rich pigmentation.

Each type has its unique qualities, so experimenting with them helps you discover what best suits your style and technique.
Selecting the Right Paper for Coloring
Choosing the right paper for your coloring project can significantly impact your results. The texture and weight of the paper can enhance your coloring experience, so here are some tips to help you select the best option:
- Weight: Opt for heavier paper (at least 200 gsm) to prevent bleeding through.
- Texture: Smooth paper is great for blending, while textured paper adds depth to your colors.
- Acid-Free: Choose acid-free paper to ensure your artwork lasts without yellowing over time.
- Specialty Papers: Consider watercolor or mixed media papers if you’re blending or using water-soluble pencils.
Essential Coloring Tools and Accessories
Having the right paper sets the foundation for your coloring, but your tools and accessories can elevate your artwork even further. Here’s a quick guide to essential items you’ll want to consider:
| Tool/Accessory | Purpose |
|---|---|
| Blending Stumps | Smooth out pencil marks and create gradients |
| Sharpener | Maintain a fine point for detailed work |
| Eraser | Correct mistakes and lighten colors |
| Color Wheel | Help choose harmonious color combinations |
Investing in these tools enhances your coloring experience. Blending stumps allow for seamless transitions, while a good sharpener ensures precision. Don’t underestimate the power of an eraser! It can be your best friend when refining your art. With these essentials, you’ll be well-equipped to bring your visions to life.
Techniques for Layering Colors
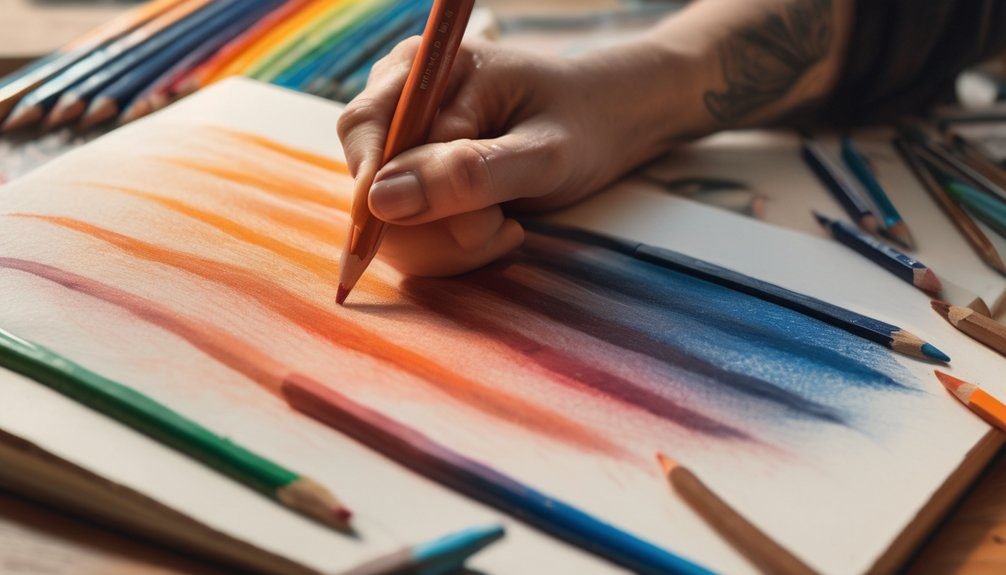
Although it might seem daunting at first, layering colors is a powerful technique that can transform your artwork into something truly vibrant.
By building up layers, you can create depth and richness in your drawings. Here are some tips to help you master this technique:
- Start Light: Begin with light pressure to lay down your first color; this allows for easier blending later.
- Build Gradually: Slowly add more layers, increasing pressure as needed to deepen the color.
- Mix Colors: Experiment by layering different colors on top of each other; this can lead to unique shades.
- Use a Blending Tool: Try a blending stump or your finger to smooth out the transitions between colors for a polished look.
Enjoy your creative journey!
Mastering Shading and Blending
Building on your layering skills, mastering shading and blending can elevate your colored pencil artwork even further. Start by choosing a light source for your piece; this’ll help you determine where shadows and highlights should go.
Use a lighter pencil to lay down the base color, then gradually add darker shades to create depth. For blending, try using a colorless blender pencil or a soft tissue to smooth transitions between colors.
Don’t press too hard; instead, build up layers gently to maintain control. Experiment with circular motions or back-and-forth strokes for different effects.
Experimenting With Color Combinations
Experimenting with color combinations can transform your artwork in exciting ways. It’s a chance to express your creativity and find unique palettes that resonate with you.
Exploring color combinations can elevate your art, allowing for creative expression and the discovery of vibrant, personal palettes.
Here are some tips to get you started:
- Analogous Colors: Choose colors that sit next to each other on the color wheel, like blue, blue-green, and green, for a harmonious look.
- Complementary Colors: Use colors opposite each other, like red and green, to create striking contrast and vibrancy.
- Monochromatic Schemes: Experiment with different shades and tints of a single color for depth and dimension.
- Triadic Combinations: Pick three colors evenly spaced on the wheel, such as red, yellow, and blue, for a balanced, energetic effect.
Enjoy the process and let your imagination guide you!
Keeping Your Pencils in Top Condition
Keeping your colored pencils in excellent condition is essential for achieving the best results in your artwork. Start by storing them properly in a case or container to prevent breakage.
Avoid exposing them to extreme temperatures or direct sunlight, as this can affect the pigments and wood quality. Regularly sharpen your pencils using a reliable sharpener to maintain a fine point.
Don’t press too hard while coloring; it can cause unnecessary wear. If you notice a pencil getting dull, switch to a different color to give it a break.
Lastly, keep the tips clean and free from debris, ensuring smooth application. By following these simple steps, you’ll extend the life of your pencils and enhance your coloring experience.
Learning From Online Resources and Tutorials
With your colored pencils well-maintained, it’s time to enhance your skills through online resources and tutorials. The internet is packed with valuable content tailored for beginners like you.
Now that your colored pencils are ready, explore the wealth of online tutorials to elevate your skills!
Here are some great ways to learn:
- YouTube Channels: Find artists who share techniques and tips through engaging video tutorials.
- Online Courses: Websites like Skillshare or Udemy offer structured classes covering various coloring techniques.
- Social Media: Follow artists on Instagram or Pinterest for inspiration and step-by-step guides.
- Forums and Groups: Join online communities where you can share your work, ask questions, and receive feedback.
Dive into these resources, and you’ll see your skills flourish before you know it!
Finding Your Personal Coloring Style
How can you discover your unique coloring style? Start by experimenting with different techniques and color combinations.
Try layering colors to create depth or blending for smoother transitions. Don’t hesitate to explore various themes—nature, abstract, or portraits—to see what resonates with you.
Next, analyze the artworks you admire. What elements attract you? Is it the vibrant colors or the intricate details?
Incorporate those aspects into your own work.
Lastly, practice regularly. Your style will naturally evolve as you become more comfortable with your materials.
Keep a sketchbook to capture ideas and track your progress.
Frequently Asked Questions
How Do I Organize My Coloring Pencil Collection Effectively?
Start by sorting your pencils by color or shade. Use a storage solution like a case or container, labeling each section. Regularly check and maintain your collection to keep it organized and easily accessible.
Can I Use Coloring Pencils on Canvas?
Yes, you can use coloring pencils on canvas! Just make sure to choose a textured canvas for better adhesion. Layer your colors carefully, and consider sealing your artwork with a fixative to preserve it.
What Are the Best Storage Solutions for Coloring Pencils?
You’ve got countless options for storing your coloring pencils! Try a whimsical wooden box, a sleek rolling cart, or even a dazzling glass jar. Keep them organized, and your creativity will burst forth like a rainbow!
How Often Should I Sharpen My Coloring Pencils?
You should sharpen your coloring pencils whenever they become dull, typically every few uses. Keeping them sharp enhances precision and allows for better blending, so don’t hesitate to sharpen them whenever you feel it’s necessary!
Are There Any Coloring Pencil Brands to Avoid?
Yes, avoid low-quality brands that break easily or lack pigment. Cheap pencils often produce unsatisfactory results and can frustrate your experience. Stick with reputable brands known for their durability and vibrant colors to enhance your artwork.
Conclusion
Now that you’ve got some great coloring pencil tips, it’s time to dive in and unleash your creativity! Did you know that studies show engaging in coloring can reduce stress levels by up to 75%? So grab your pencils and start exploring different techniques and color combinations. Remember, practice makes perfect, and every stroke helps you develop your personal style. Enjoy the process, and don’t forget to have fun as you bring your artistic vision to life!