When you think about adding a splash of color to your coloring pages, watercolor techniques can elevate your artwork significantly. You’ll find that using the right supplies and methods opens up a world of creativity. Whether you prefer sharp edges or soft blends, there’s a technique that fits your style. Curious about how different approaches can transform your pages? Let’s explore the various methods and tips to enhance your watercolor experience.
Key Takeaways
- Use the wet-on-wet technique for soft blends, creating dreamy backgrounds on coloring pages by applying wet paint to pre-wetted areas.
- Apply the wet-on-dry method for defined edges, allowing for sharp lines and details on your coloring pages.
- Experiment with gradients by adding water to your paint, transitioning smoothly from dark to light shades for depth.
- Incorporate salt on wet paint to create unique textures as it dries, adding visual interest to your coloring pages.
- Utilize layering techniques by allowing each color layer to dry before adding another, enhancing the complexity of your artwork.
Choosing the Right Watercolor Supplies
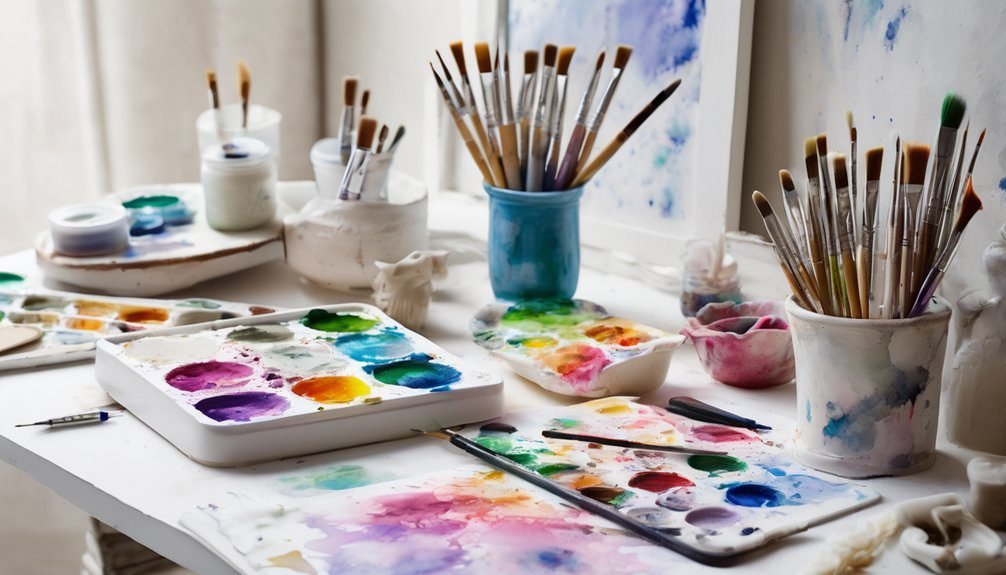
When you’re ready to dive into watercolor techniques on your coloring pages, choosing the right supplies is essential for achieving the best results.
Start with a good set of watercolor paints. Tube paints offer vibrant colors, while pan sets are portable and convenient.
Next, select quality brushes. A variety of sizes will help you tackle different areas of your artwork. Opt for synthetic brushes, as they work well with watercolors and are easy to clean.
You’ll also need watercolor paper, which can handle moisture without warping. Don’t forget a mixing palette for blending colors and a jar of water for rinsing your brushes.
With these supplies, you’ll set yourself up for a successful and enjoyable watercolor experience.

Basic Watercolor Techniques for Beginners
With your watercolor supplies ready, it’s time to explore some basic techniques that will elevate your coloring pages.
Start with the wet-on-dry method, where you apply wet paint onto dry paper. This allows for sharper edges and more defined shapes.
Next, try layering colors; let each layer dry before adding another to create depth and dimension.
Don’t forget to experiment with gradients by gradually adding more water to your paint, transitioning from dark to light shades.
You can also use a wet brush to lift color from your page, allowing for corrections or highlights.
Finally, practice controlling your brush pressure to achieve varying line thicknesses, enhancing your artwork’s overall texture and detail.
Enjoy the process!
Wet-on-Wet Technique for Soft Blends
As you dive into the wet-on-wet technique, you’ll discover how effortlessly colors can blend on your coloring pages. This technique involves applying wet paint onto a wet surface, allowing pigments to merge seamlessly.
Start by wetting your chosen area with clean water using a brush. Then, while it’s still wet, introduce your colors. You’ll see them flow and create soft transitions that add depth to your artwork.
Don’t hesitate to experiment with different color combinations; just remember to work quickly to maintain that wet surface. If you want more control, use less water.
This method is perfect for achieving dreamy skies or gentle backgrounds, leaving your pages looking beautifully fluid and alive. Enjoy the magic of soft blends!
Wet-on-Dry Technique for Defined Edges
Although blending colors can create beautiful effects, the wet-on-dry technique is ideal for achieving defined edges on your coloring pages. This method involves applying wet paint directly onto dry paper or over a dry layer of color.
Start by prepping your brush with the desired color, then gently touch it to the dry surface. You’ll notice how the paint stays sharp and crisp, allowing you to outline shapes or details without blending into adjacent areas.
This technique works wonders for achieving clean lines in floral designs or intricate patterns. It’s perfect for creating contrast and making elements pop.
Just remember to keep your brush loaded with paint for a smooth application, and enjoy the precision this technique brings to your artwork!
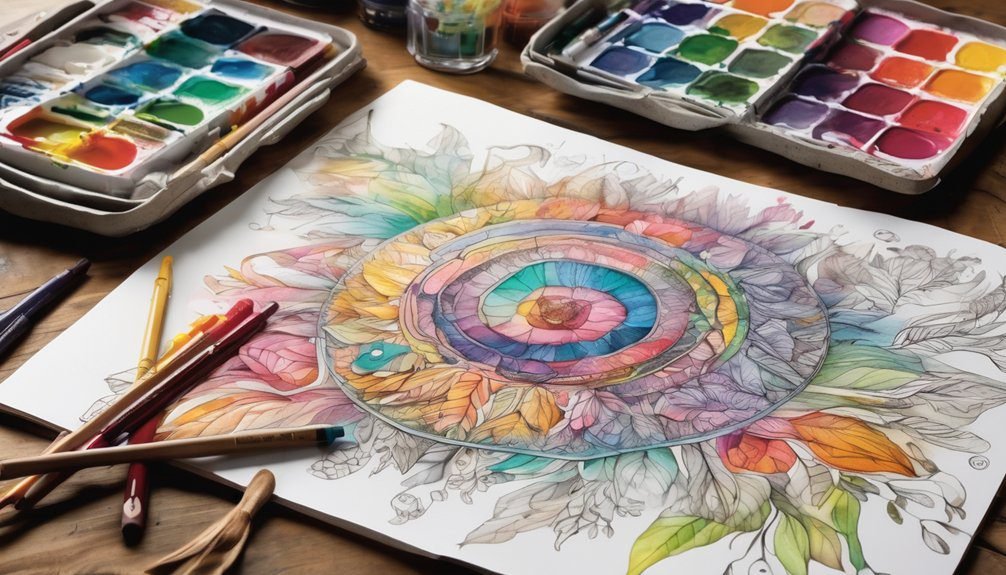
Layering Colors for Depth and Dimension
When you layer colors on your coloring pages, you can create stunning depth and dimension that brings your artwork to life. Start with a light base color, allowing it to dry completely.
Then, choose a slightly darker shade and apply it in areas where shadows naturally occur. This technique helps establish contrast and adds richness. You can also use a wet brush to blend the edges of these colors, creating a smooth transition.
Don’t hesitate to experiment with different color combinations; it can lead to unexpected yet beautiful results. Remember, patience is key—allow each layer to dry before adding the next.
Using Salt and Other Materials for Texture
Texture can transform your watercolor coloring pages from flat to fascinating. One simple way to add texture is by using salt. While the paint’s still wet, sprinkle a small amount of salt onto the surface. As the paint dries, the salt absorbs moisture, creating unique patterns and textures.
Add captivating texture to your watercolor pages by sprinkling salt on wet paint for stunning patterns.
Experiment with different types of salt—coarse or fine—to see how they affect your artwork.
You can also explore other materials like plastic wrap or sponges. Crumple plastic wrap and press it onto wet paint for an interesting effect, or use a sponge to dab on color for a more organic look.
Don’t be afraid to mix and match these techniques; they’ll elevate your coloring pages and bring them to life!
Combining Watercolor With Other Mediums
After experimenting with various textural effects, you might find that combining watercolor with other mediums can further enhance your coloring pages.
For instance, try pairing watercolor with colored pencils. Apply the watercolor first, then add colored pencil details for depth and vibrancy. You can also use markers to outline your designs after the watercolor dries, creating a striking contrast.
Another option is to incorporate gel pens for highlights, bringing a unique shimmer to your artwork.
Remember to layer your mediums wisely; start with lighter applications and build intensity gradually. This approach ensures that each medium complements rather than competes with the others, resulting in a beautifully cohesive piece.
Explore different combinations to discover what works best for your artistic style!
Tips for Maintaining Your Watercolor Pages
Maintaining your watercolor pages requires a few simple yet effective practices to keep your artwork looking fresh and vibrant.
First, always allow your pages to dry completely before handling them to prevent smudging. If you notice any stray colors, gently lift them with a damp brush.
Allow your watercolor pages to dry thoroughly before touching them to avoid smudging, and gently lift any stray colors with a damp brush.
For long-term preservation, store your pages flat in a cool, dry place, away from direct sunlight to avoid fading. When displaying your work, consider using glass frames to protect against dust and moisture.
Regularly clean your brushes and palettes to avoid color contamination. Finally, if you want to touch up your work, use a light hand and test colors on a separate paper first.
Following these tips will help maintain the beauty of your watercolor creations.
Frequently Asked Questions
Can I Use Watercolor Pencils on Coloring Pages?
Yes, you can definitely use watercolor pencils on coloring pages! Just apply the pencils as you normally would, then activate them with water to blend. It’ll create beautiful, vibrant effects that enhance your artwork. Enjoy!
How Do I Fix Mistakes Made With Watercolors?
You can fix watercolor mistakes by using a damp brush to lift excess paint, layering additional colors to blend, or covering areas with white gel pen or acrylic paint for a fresh start. Don’t stress!
Is Watercolor Safe for Children to Use?
Yes, watercolor’s generally safe for kids! Just make sure they’re using non-toxic paints and supervise their activities. It’s a fun way for them to express creativity while developing fine motor skills. Enjoy the mess!
Can I Frame My Watercolor Coloring Pages?
Absolutely, you can frame your watercolor coloring pages! Isn’t it rewarding to showcase your creativity? Just ensure they’re fully dry and use UV-protective glass to preserve those vibrant colors for years to come.
How Long Does It Take for Watercolor to Dry?
Watercolor typically takes about 30 minutes to an hour to dry, depending on humidity and thickness. If you’re in a hurry, you can speed it up with a hairdryer on a low setting.
Conclusion
As you dive into watercolor techniques on coloring pages, remember that nearly 70% of artists find joy in experimenting with different methods. Just imagine transforming a simple design into a vibrant masterpiece, where colors blend seamlessly or stand boldly defined. Each stroke brings you closer to discovering your unique style, so don’t hesitate to explore and play. With practice, your pages will burst with life, showcasing your creativity in every colorful detail!