Incorporating metallic accents into your coloring art can elevate its overall appeal and sophistication. You’ll find that colors like gold, silver, and copper create striking contrasts with traditional hues. By exploring different techniques and tools, you can add shimmering highlights that bring depth to your work. But how exactly do you achieve that perfect balance between metallics and matte finishes? The answer lies in understanding the nuances of application and choice of materials.
Key Takeaways
- Incorporate metallic markers for easy application and vibrant effects on paper and cardstock.
- Use metallic gel pens to add highlights and reflections, enhancing shadows and details in artwork.
- Experiment with acrylic paints for rich textures and depth on canvas and wood surfaces.
- Layer metallic colors on dark paper to create striking contrast and make the colors pop.
- Consider seasonal rotations of metallic art to keep displays fresh and engaging for viewers.
Understanding Metallic Colors: Types and Effects
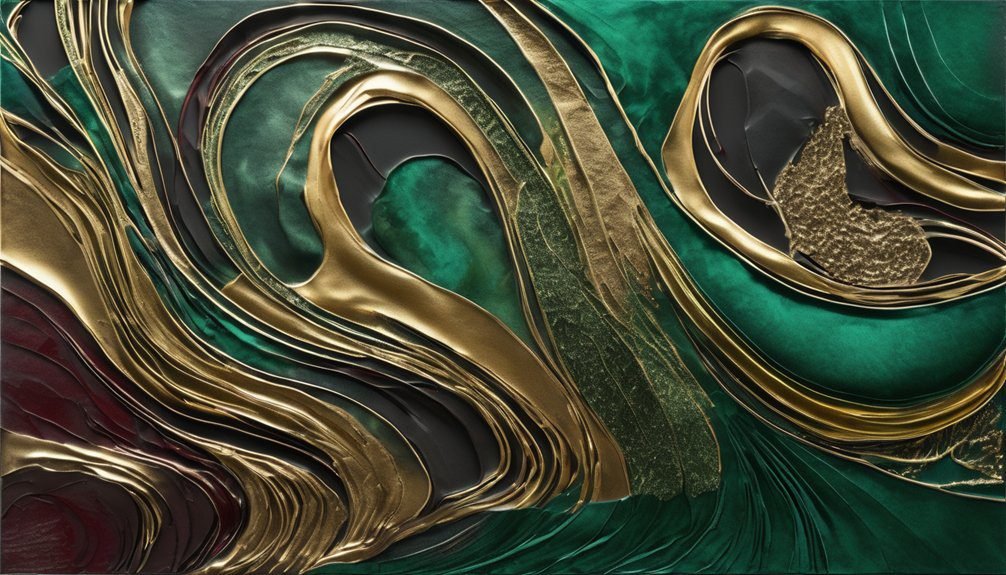
Metallic colors can transform your coloring art, adding a striking dimension that regular hues often lack. These vibrant shades shine and shimmer, capturing light in unique ways.
You’ll find various types of metallic colors, like gold, silver, copper, and iridescent shades. Each type creates a different effect; for instance, gold brings warmth and luxury, while silver offers a cooler, modern feel.
Explore the diverse effects of metallic colors like gold, silver, and copper—each adding unique warmth, luxury, and modernity to your art.
Iridescent colors shift in appearance depending on the angle, adding a dynamic quality to your work. When you incorporate these metallics into your palette, you’re not just coloring—you’re elevating your artwork to a new level.
Experimenting with these colors can inspire creativity and enhance your visual storytelling, making each piece truly stand out.

Choosing the Right Tools for Metallic Accents
When selecting tools for adding metallic accents, it’s crucial to consider the medium you’ll be using. Your choice of tools can significantly impact the final look of your artwork. Here’s a quick guide to help you decide:
| Tool Type | Best Used With | Key Features |
|---|---|---|
| Metallic Markers | Paper and cardstock | Easy application, vibrant colors |
| Gel Pens | Smooth surfaces | Fine details, quick drying |
| Acrylic Paints | Canvas and wood | Versatile, rich textures |
| Watercolor Paints | Watercolor paper | Soft effects, blendable |
| Foil | Adhesive surfaces | Reflective shine, layered effects |
Choose wisely based on your project, and you’ll enhance your coloring art beautifully!
Techniques for Applying Metallic Markers
Using metallic markers can transform your artwork with a stunning, reflective quality. Start by shaking the marker well to mix the metallic pigments. Test it on a scrap piece of paper to ensure it flows smoothly before applying it directly to your artwork.
For solid areas, use broad strokes to cover larger sections quickly, but for details, switch to a finer tip to achieve precision. Layering can enhance the metallic effect; try overlapping colors for a unique blend.
When working on darker paper, the contrast will make the metallic sheen pop even more. Lastly, let your layers dry completely between applications to prevent smudging. Enjoy experimenting with different techniques to elevate your coloring projects!
Enhancing Depth With Metallic Gel Pens
To create a sense of depth in your artwork, incorporating metallic gel pens can make a significant difference.
These pens add a unique shine that draws the eye and emphasizes various elements of your coloring. Use them to highlight shadows or create reflections, giving your pieces a three-dimensional feel.
For instance, apply a metallic gold or silver to the edges of shapes, making them pop against your base colors. You can also layer colors; start with a dark shade and add a metallic hue on top to enhance contrast.
Don’t forget to experiment with different strokes and pressure to achieve varied effects. With a little practice, you’ll master the art of using metallic gel pens to elevate your coloring.
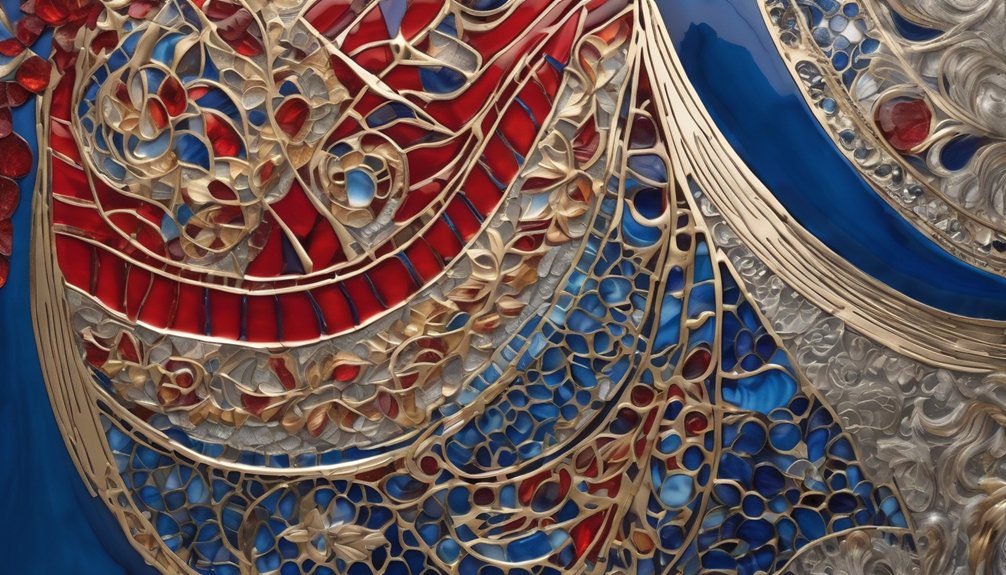
Foil Techniques: Adding a Touch of Glamour
Foil techniques can elevate your coloring projects with a stunning touch of glamour. By incorporating foil, you can create eye-catching highlights that draw the viewer’s attention. Begin by applying a special adhesive to your design where you want the foil to stick. Once it’s dry, lay the foil on top and burnish it gently to transfer the shine.
Here’s a quick guide to help you choose your foil types:
| Foil Type | Best For | Color Options |
|---|---|---|
| Metallic Foil | Shiny accents | Gold, Silver, Copper |
| Holographic Foil | Color shifts | Rainbow, Prism |
| Matte Foil | Subtle elegance | Black, White |
Experiment with different foils to see what enhances your artwork best!
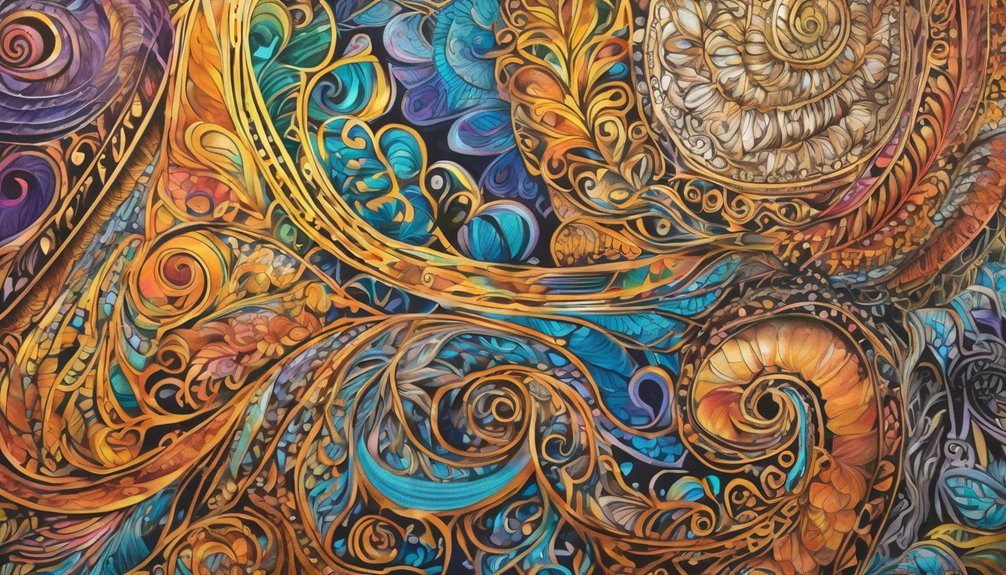
Layering Metallics for Unique Textures
While experimenting with various metallics, you’ll discover that layering different shades and finishes can create unique textures that bring your artwork to life.
By combining these elements, you can evoke a sense of depth and intrigue. Consider these ideas to enhance your pieces:
- Glossy gold on top of a matte bronze for a luxurious shine.
- Shimmering silver layered beneath a transparent copper for a warm glow.
- Sparkling rose gold paired with a deep charcoal to create a striking contrast.
- Iridescent finishes overlaid on vibrant colors to catch the light beautifully.
- Brushed metal effects combined with traditional coloring for added dimension.
Experimenting with these techniques will elevate your coloring art and make it truly one-of-a-kind!
Combining Metallics With Traditional Coloring
As you explore the world of coloring art, combining metallics with traditional coloring can transform your pieces into stunning works of art.
Start by incorporating metallic markers or paints alongside your favorite colored pencils or watercolors. Use metallic shades to highlight specific areas, like the edges of leaves or the outlines of intricate designs. This draws attention to those details and adds depth to your composition.
Don’t hesitate to experiment with different techniques; for instance, layer metallics over matte colors for a striking effect. You can also create gradients by blending metallics with traditional hues.
The key is to maintain balance, ensuring the metallics enhance rather than overpower your artwork. Dive in, and watch your creativity shine!
Creating Contrast: Balancing Metallics With Matte Finishes
To achieve a captivating visual experience in your coloring art, you’ll want to create contrast by balancing metallics with matte finishes. This interplay not only enhances depth but also elevates the overall aesthetic.
Here’s how you can achieve that balance:
- Use metallic gold for intricate details against a deep matte navy background.
- Pair silver accents with soft pastel colors for a gentle yet striking contrast.
- Highlight bold, matte black sections with shimmering copper for dramatic effects.
- Incorporate matte white elements to soften vibrant metallic hues.
- Experiment with metallic greens on a muted earth-tone palette for a natural, modern look.
Best Practices for Maintaining Your Metallic Artwork
Maintaining your metallic artwork requires careful attention to preserve its luster and integrity. Start by keeping your pieces away from direct sunlight to prevent fading. Use a soft, lint-free cloth for dusting, avoiding abrasive materials that can scratch. If necessary, gently clean with a damp cloth and mild soap, ensuring you dry it thoroughly afterward.
Here’s a quick reference table for your maintenance routine:
| Task | Frequency | Notes |
|---|---|---|
| Dusting | Weekly | Use a soft, lint-free cloth |
| Cleaning | Monthly | Mild soap and damp cloth |
| Inspection | Quarterly | Check for any damage |
| Storage | As needed | Keep in a cool, dry place |
Following these steps will help keep your metallic artwork looking stunning for years!
Showcasing Your Metallic Masterpieces: Framing and Display Tips
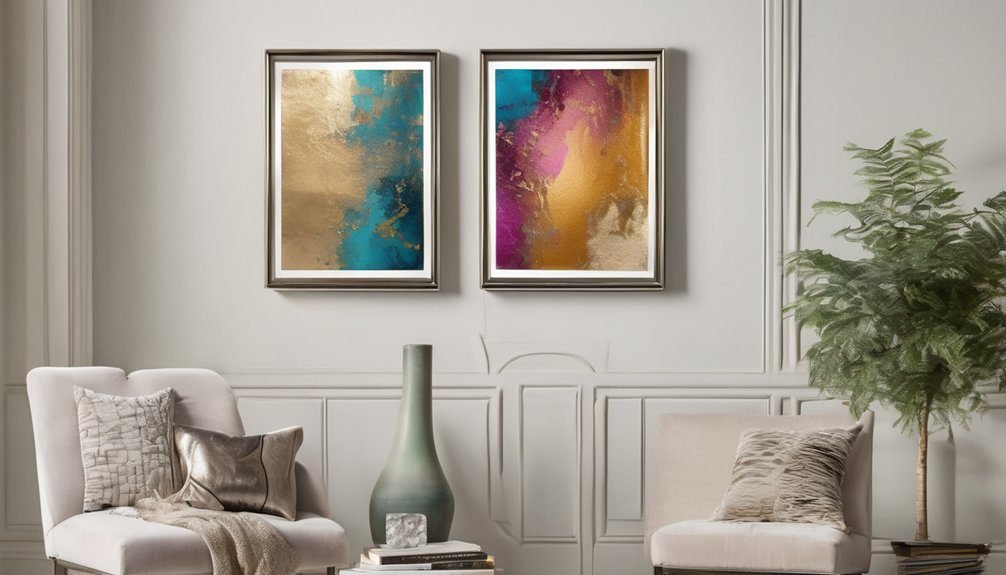
Whether you’re a seasoned artist or a passionate collector, showcasing your metallic masterpieces can elevate any space.
To highlight the shimmering details and vibrant colors, consider these framing and display tips:
- Use a sleek, modern frame that complements the metallic hues without overshadowing them.
- Incorporate LED lighting to enhance the shine and draw attention to your artwork.
- Create a gallery wall with varied sizes and orientations to add dynamic interest.
- Choose a neutral background to make your metallic colors pop and ensure they’re the focal point.
- Rotate your pieces seasonally to keep your display fresh and exciting.
These strategies will ensure your metallic artworks shine in all their glory!
Frequently Asked Questions
Can Metallic Accents Be Used on All Types of Paper?
Yes, you can use metallic accents on various types of paper, but results may vary. Experimenting with different surfaces helps you discover which ones work best for your desired effect and overall aesthetic.
How Do I Clean Metallic Markers After Use?
After using metallic markers, wipe the tips with a damp cloth to prevent clogging. For example, if you’re creating a greeting card, cleaning your markers right away ensures they stay vibrant for your next project.
Are There Any Health Concerns With Metallic Art Supplies?
Yes, there can be health concerns with metallic art supplies. You should check for non-toxicity labels, avoid inhaling fumes, and ensure proper ventilation while using them. Always wash your hands after handling these materials.
How Long Do Metallic Accents Typically Last on Artwork?
Metallic accents usually last several years if applied correctly. Make sure to store your artwork in a cool, dry place, away from direct sunlight, to maintain their vibrancy and prevent fading over time.
Can I Mix Metallic Colors From Different Brands?
Yes, you can mix metallic colors from different brands. Just make sure they’re compatible, as some might react differently. It’s always a good idea to test them on a small area first, ensuring a smooth blend.
Conclusion
Incorporating metallic accents into your coloring art not only elevates your creations but also transforms them into stunning masterpieces that shine with personality. Why settle for ordinary when you can add a touch of luxury that captivates the eye? By mastering the techniques and tools discussed, you’ll craft artwork that demands attention and admiration. So, unleash your creativity, embrace the shimmer, and watch your coloring transform into a vibrant celebration of color and light!