Is it really possible to achieve clean coloring without any smudges? Many artists struggle with this challenge, often feeling frustrated by the mess that can come from their tools. By understanding the right materials and techniques, you can transform your approach and enhance your artwork. Discover how to make simple adjustments that lead to polished, vibrant results.
Key Takeaways
- Choose high-quality, water-based markers to minimize smudging and ensure easy cleanup during coloring.
- Use heavier paper (200 GSM or more) to absorb color better and prevent bleed-through.
- Opt for smooth paper surfaces for cleaner lines and less risk of smudging.
- Utilize blending tools or cotton swabs to soften edges of over-applied colors without damaging the paper.
- Always test your coloring tools on scrap paper to assess their smudge potential before starting your artwork.
Choosing the Right Coloring Tools
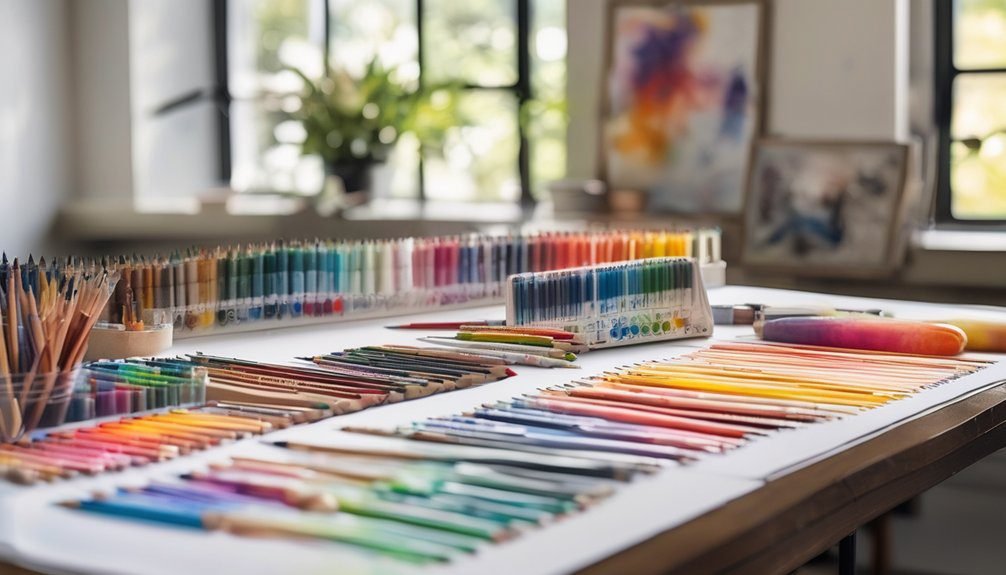
When you’re ready to dive into coloring, choosing the right tools can make all the difference. Start by selecting high-quality coloring pencils or markers that suit your style.
Choosing the right coloring tools is essential; opt for high-quality pencils or markers that match your personal style.
Pencils offer precision and blendability, while markers provide vibrant, bold colors. Consider water-based markers if you want easy cleanup and less likelihood of smudging.
Test different brands to find what feels comfortable in your hand. If you prefer smooth strokes, gel pens or brush pens might be your best bet.

Don’t forget about blending tools like stumps or tissue for added dimension. Ultimately, your choice of tools affects not just the colors but also the overall experience, so invest time in finding what works best for you.
Happy coloring!
Preparing Your Workspace
Choosing the right coloring tools sets the stage for a successful coloring session, but a well-prepared workspace can enhance the experience even further.
A clean, organized area helps you focus and prevents distractions. Here are three tips to prepare your workspace:
- Clear the Surface: Remove unnecessary items to create a clutter-free environment.
- Gather Your Supplies: Keep your coloring tools, paper, and any reference materials within easy reach.
- Ensure Proper Lighting: Good lighting reduces eye strain and helps you see colors accurately.
Mastering Coloring Techniques
To master coloring techniques, it’s essential to understand the different methods you can use to bring your artwork to life. Whether you prefer blending, layering, or stippling, each technique offers unique advantages.
Here’s a quick overview of some popular techniques:
| Technique | Description | Best For |
|---|---|---|
| Blending | Smooth transitions between colors | Portraits and landscapes |
| Layering | Building depth with multiple colors | Complex scenes |
| Stippling | Creating texture with dots | Patterns and details |
Experiment with these methods to see which resonates with your style. Don’t hesitate to mix and match techniques; it’s all about finding what enhances your creativity. With practice, you’ll develop your own signature approach to coloring!
Preventing Smudging With Paper Choices
Selecting the right paper can make all the difference in preventing smudging during your coloring projects. The texture and weight of the paper you choose can significantly impact the outcome of your artwork.
Here are a few key factors to consider:
- Weight: Heavier paper (like 200 GSM or more) absorbs color better and reduces bleed-through.
- Texture: Smooth surfaces often allow for cleaner lines, while textured paper can add depth but may lead to smudging if too much pressure is applied.
- Finish: Opt for a coated or semi-coated finish to help colors sit on top without smudging.
Tips for Layering Colors
While you might think layering colors is simply about adding more pigment, mastering this technique can elevate your artwork significantly.
Start with a light base layer; it sets the foundation without overwhelming your surface. Gradually build up your colors, using softer pressure to avoid over-saturation. Remember to let each layer dry before adding the next to maintain clarity.
Experiment with complementary colors to create depth; layering shades can yield stunning results. Use a blending tool or your fingers to smooth transitions, but be cautious—too much blending can muddy your work.
Finally, don’t forget to step back and assess your piece from different angles. This helps you see where more layers are needed for balance and harmony.
Happy coloring!
Cleaning Up Mistakes Effectively
Even the most skilled artists make mistakes, but knowing how to clean them up can turn potential disasters into opportunities for improvement.
Mistakes are a natural part of the artistic process; embrace them as chances to grow and enhance your craft.
Whether it’s an unwanted line or a misplaced color, you can easily fix it with a few techniques. Here are some effective methods:
- Use an eraser: A clean, soft eraser can gently lift away unwanted marks without damaging your paper.
- Blend it out: If you’ve over-applied color, use a blending tool or a cotton swab to soften the edges and create a smooth transition.
- Layer strategically: Sometimes, layering a contrasting color can camouflage mistakes, making them blend seamlessly with the artwork.
Frequently Asked Questions
What Types of Surfaces Are Best for Coloring Without Smudging?
Smooth, non-porous surfaces like glossy paper or cardstock work best for coloring without smudging. You’ll find that these materials help your colors stay vibrant and intact, preventing any unwanted marks or smears during your creative process.
Can I Use Water-Based Markers on Glossy Paper?
You can use water-based markers on glossy paper, but expect some smudging. The ink may not adhere well, so test a small area first. You’ll want to find the right balance for your project.
How Do I Store My Coloring Tools to Prevent Smudges?
To prevent smudges, store your coloring tools upright in a container with dividers. Keep them in a cool, dry place, and avoid stacking them to minimize pressure on the tips and surfaces.
Are There Specific Brands Known for Smudge-Proof Coloring Supplies?
You’ll find smudge-proof coloring supplies from brands like Prismacolor, Faber-Castell, and Copic—these are practically legendary! Their products offer vibrant colors and great durability, ensuring your artwork stays pristine and dazzling without any unsightly smudges.
How Can I Tell if My Coloring Paper Is Smudge-Resistant?
You can tell if your coloring paper is smudge-resistant by checking its texture and weight. If it feels smooth and thick, it’s likely designed to prevent smudging. Test with your coloring supplies to confirm.
Conclusion
With the right tools and techniques, you can turn your coloring journey into a vibrant masterpiece, free from smudges. Think of your workspace as a blank canvas, where organization and focus dance together to inspire creativity. As you layer colors like a sunset blending into twilight, remember that mistakes are simply stepping stones to brilliance. Embrace each stroke, and let your imagination soar, painting a world where every hue shines bright and every line stays crisp.