Did you know that nearly 70% of people feel more at home when surrounded by personalized decor? Creating DIY wall art from colored pages is an accessible way to inject your personality into any space. By choosing the right materials and design ideas, you can transform simple colored pages into striking pieces that reflect your style. Let’s explore how to get started and make your walls truly unique.
Key Takeaways
- Choose high-quality colored pages with various textures and hues for a visually appealing wall art design.
- Cut the colored pages into different shapes and experiment with arrangements before adhering them to a base.
- Use strong adhesives like glue sticks or double-sided tape to securely mount your artwork.
- Select a focal wall and arrange your art at eye level, leaving space between pieces for a balanced look.
- Incorporate additional embellishments like markers or glitter to add depth and personal expression to your artwork.
Choosing the Right Materials
When you’re ready to create your DIY wall art, choosing the right materials can make all the difference. Start by selecting high-quality colored pages that resonate with your style. Look for a variety of textures and hues to add depth to your artwork.
You’ll also need scissors for precise cutting and a strong adhesive to ensure everything sticks well. Consider using a canvas or sturdy poster board as your base, as these will provide stability and a professional finish.
Don’t forget to gather any additional embellishments like markers, glitter, or washi tape to enhance your design. With the right materials in hand, you’ll set the stage for an artistic creation that truly reflects your personality.

Inspiring Design Ideas
As you embark on your DIY wall art journey, exploring a variety of design ideas can ignite your creativity.
You’ll find that colored pages offer endless possibilities. Here are some inspiring concepts to consider:
- Geometric Patterns: Create bold shapes and lines that add a modern touch.
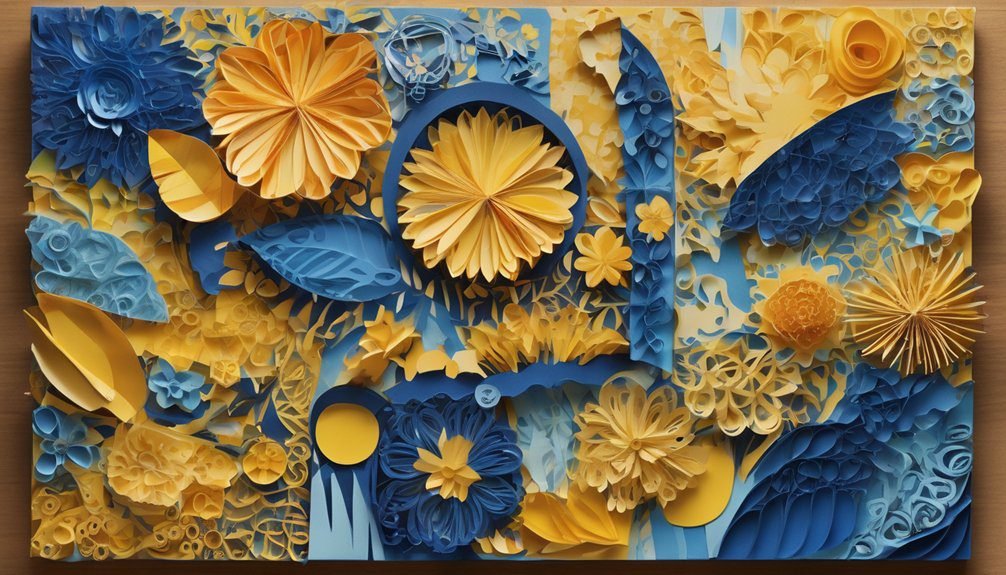
- Nature Themes: Use floral or landscape pages to bring the outdoors inside.
- Abstract Art: Cut and arrange pieces randomly for a unique, free-spirited design.
- Quotes and Typography: Incorporate meaningful words or phrases for a personal flair.
These ideas not only enhance your space but also allow you to express your personality.
Simple Techniques for Cutting and Arranging
Start by gathering your materials and tools for cutting and arranging your wall art. You’ll need sharp scissors or a craft knife for clean cuts, a cutting mat for safety, and a ruler for precision.
Once you’re set, choose your colored pages and decide on a theme or color palette.
Begin by cutting the pages into various shapes—squares, circles, or even abstract forms. Don’t be afraid to mix sizes for visual interest.
Lay your cut pieces on a flat surface to experiment with different arrangements before committing.
Try clustering similar colors or varying shapes to create a dynamic look. Trust your instincts, and remember, it’s all about what speaks to you.
Enjoy the process of creating your unique wall art!
Adhesives and Mounting Options
Choosing the right adhesive is crucial for ensuring your wall art stays put and looks great.
With so many options available, you’ll want to consider what works best for your materials and wall surface. Here are some popular choices:
- Glue sticks: Perfect for lightweight paper art, providing a clean finish.
- Double-sided tape: Easy to apply and ideal for quick mounting without mess.
- Spray adhesive: Great for larger pieces, offering an even application.
- Command strips: Perfect for renters, allowing you to hang without damaging walls.
Displaying Your Artwork
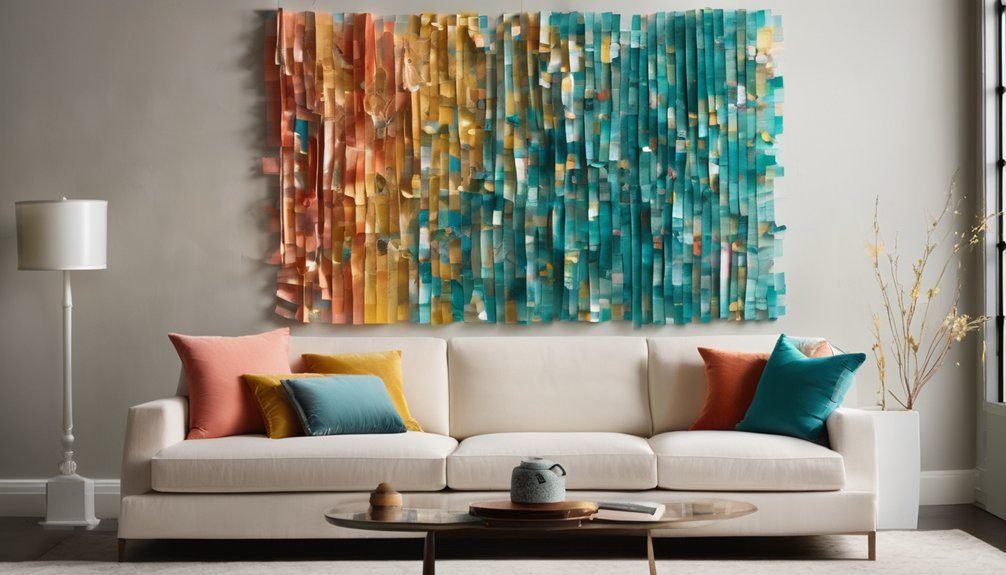
How do you turn your living space into a gallery? Start by selecting a focal wall where your artwork can shine.
Arrange your colored pages in a way that creates visual interest—mix different shapes and sizes for an eclectic look. Use frames or clipboards to give your pieces a polished finish while making them easy to swap out.
Consider the height at which you hang your artwork; eye level is key for maximum impact. You can also create a grid layout for a uniform feel or go for a more organic arrangement for a relaxed vibe.
Don’t forget to leave space between pieces to let each one breathe. Finally, step back and adjust until it feels just right!
Tips for Personalizing Your Pieces
Once your artwork is beautifully displayed, it’s time to add a personal touch that truly reflects your style.
Personalizing your pieces can elevate your space and make it feel uniquely yours. Here are some tips to consider:
Personalizing your art can transform your space, infusing it with your unique style and character.
- Incorporate your favorite colors: Use paint or fabric to add accents that resonate with your color palette.
- Add meaningful quotes: Write or print quotes that inspire you, framing them alongside your art.
- Use different textures: Experiment with materials like fabric, wood, or metal to create dimension and interest.
- Mix in personal photos: Integrate snapshots or mementos that tell your story, blending them seamlessly with your artwork.
Frequently Asked Questions
Can I Use Magazines Instead of Colored Pages?
Yes, you can definitely use magazines instead of colored pages. Just cut out the images or patterns you like, and arrange them creatively. It’ll add a unique touch to your wall art project!
What Tools Do I Need for Precise Cutting?
To achieve that artistic vision, you’ll need a sharp craft knife, a reliable cutting mat, and precision scissors. These tools ensure your cuts are clean and your project turns out beautifully. Happy crafting!
How Do I Protect My Artwork From Fading?
You can protect your artwork from fading by using UV-protective spray, framing it behind glass, or hanging it away from direct sunlight. Regularly dusting and cleaning will also help maintain its vibrancy over time.
Can I Create a Themed Gallery Wall With This?
You can definitely create a themed gallery wall with your artwork! In fact, studies show 85% of people feel more inspired in visually appealing spaces. Curate your pieces to reflect a cohesive theme for maximum impact!
Is It Safe to Use Hot Glue on All Surfaces?
No, it isn’t safe to use hot glue on all surfaces. It can damage delicate materials like fabric or paper. Always test a small area first, and consider using alternatives for sensitive surfaces.
Conclusion
Creating DIY wall art from colored pages might seem daunting, but it’s easier than you think! You don’t need to be an artist; just let your creativity flow and enjoy the process. Remember, imperfections can add character to your pieces, making them uniquely yours. So, gather your materials, explore your design ideas, and start crafting! You’ll be surprised at how a few colorful pages can transform your space into a vibrant reflection of your personality.