Combining coloring and scrapbooking can elevate your creative projects in unique ways. By selecting the right tools and themes, you can infuse your scrapbook with personal touches that reflect your style. It’s about layering colors and textures to tell your story. But how do you ensure that each page stands out? Let’s explore the techniques and ideas that can transform your scrapbook into a vibrant work of art.
Key Takeaways
- Select a scrapbook theme, such as nature or travel, to guide your coloring choices and enhance the personal significance of your project.
- Use high-quality coloring tools like colored pencils or markers to add vibrant colors to scrapbook elements and backgrounds.
- Experiment with blending techniques and layering to create depth in your colored elements, making them visually appealing.
- Incorporate custom backgrounds with doodles, freehand designs, or mixed mediums to add unique textures and character to your pages.
- Display finished scrapbook pages in frames or shadow boxes to showcase your creativity and tell your stories effectively.
Choosing the Right Coloring Tools
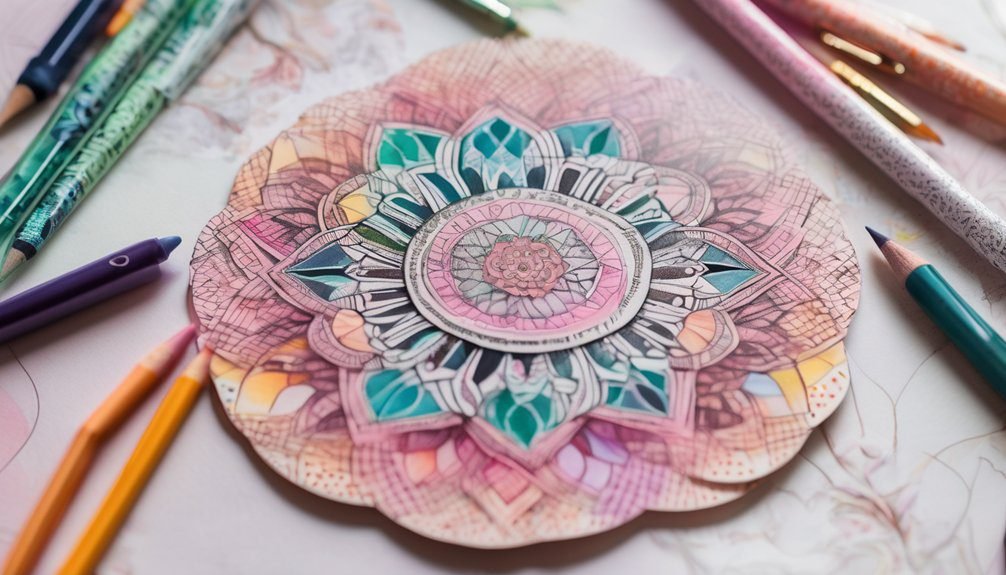
When it comes to choosing the right coloring tools, having the right supplies can make a world of difference in your creative process.
You’ll want to start by selecting high-quality colored pencils, markers, or watercolors that suit your style. Each medium offers unique effects, so try a few to see what resonates with you.
Don’t forget about the paper; thicker paper can handle more ink without bleeding through, making your artwork cleaner and more vibrant.
Also, consider adding blending tools like stumps or brushes to enhance depth and texture.

Lastly, keep your workspace organized with storage solutions for your tools.
With the right supplies, you’ll find that your coloring experience becomes more enjoyable and fulfilling.
Selecting Scrapbook Themes for Coloring
Choosing a scrapbook theme that resonates with you can elevate your coloring experience and make your projects more meaningful. Here are some ideas to help you select the perfect theme:
Selecting a scrapbook theme that speaks to you enhances your creative journey and deepens the significance of your projects.
- Nature: Capture the beauty of landscapes, flowers, or animals to inspire your color choices.
- Travel: Document your adventures with colors that reflect the places you’ve visited.
- Hobbies: Focus on your favorite activities, such as cooking or crafting, to create a personal touch.
- Memories: Use a nostalgic theme to highlight cherished moments with family and friends.
Preparing Your Scrapbook Pages
After selecting a theme that resonates with you, the next step is preparing your scrapbook pages to bring your vision to life. Start by gathering all your materials—paper, photos, stickers, and coloring supplies.
Choose a color scheme that complements your theme and lays the foundation for your design. Trim your scrapbook pages to your desired size and arrange them in a way that tells a story. You can use a pencil to lightly sketch layouts before gluing anything down.
Don’t forget to leave space for your colored elements, as they’ll enhance your pages. Finally, consider adding journaling spots to capture your thoughts and memories.
With everything in place, you’re ready to dive into the creative process!
Techniques for Coloring Scrapbook Elements
Coloring scrapbook elements can transform your pages from simple to stunning. To get the best results, try these techniques:
Transform your scrapbook pages from simple to stunning with creative coloring techniques.
- Watercolor: Use watercolors for a soft, blended effect. It’s perfect for backgrounds and larger areas.
- Markers: Choose fine-tipped markers for detailed work. They’re great for intricate designs and small embellishments.
- Colored Pencils: Blend colored pencils for depth. Layering different shades adds dimension to your elements.
- Inks and Stamps: Use ink pads to create unique stamped images. You can mix and match colors for a vibrant look.
Experiment with these techniques to find what suits your style.
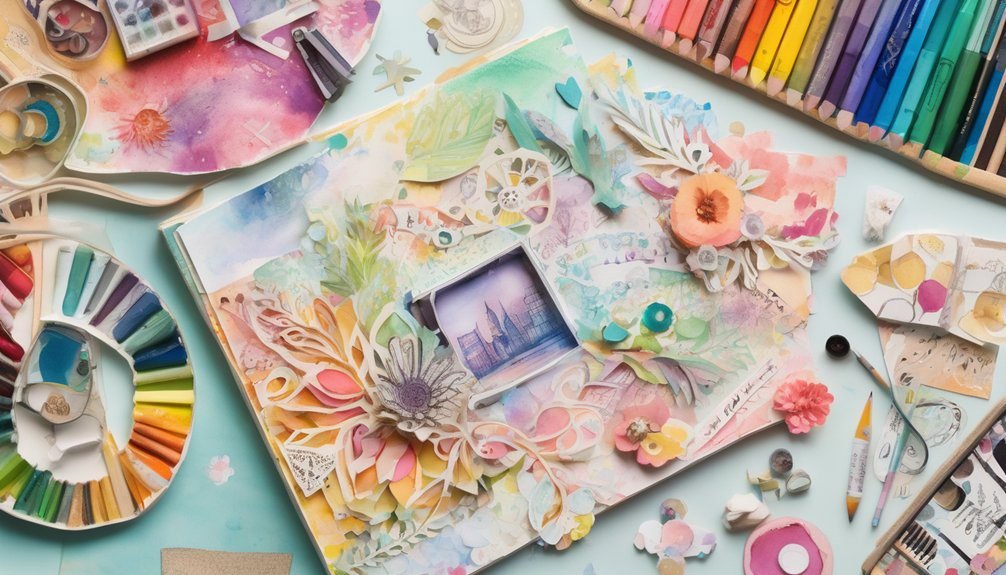
Incorporating Colored Elements Into Your Layout
Integrating colored elements into your scrapbook layout can elevate your design and create a cohesive look. Start by selecting a color palette that complements your photos and theme. Use colored paper, washi tape, or embellishments to tie everything together. You can also incorporate colored ink or markers to enhance titles and journaling.
Consider using colored elements as accents or focal points, drawing attention to specific areas of your layout. Layering different shades or patterns can add depth, making your page visually appealing.
Don’t forget to balance your colors; too much can overwhelm the eye. Finally, let your personality shine through by choosing colors that resonate with you, creating a unique scrapbook that reflects your style and memories.
Creating Custom Backgrounds With Coloring
While you might think of backgrounds as mere canvases for your scrapbook, creating custom backgrounds with coloring can truly transform your pages into unique works of art.
Here’s how you can achieve stunning results:
- Choose Your Color Palette: Select colors that complement your theme and photos.
- Experiment with Techniques: Try blending, shading, or layering colors for depth.
- Add Patterns: Use doodles or freehand designs to make your background more dynamic.
- Incorporate Texture: Mix coloring mediums, like pencils and markers, to create varied textures.
Using Stencils and Templates for Coloring
If you want to add intricate designs to your scrapbook pages without the pressure of freehand drawing, using stencils and templates can be a game changer. They allow you to create consistent patterns and shapes effortlessly.
Start by choosing stencils that fit your theme—floral designs, geometric shapes, or even words. Secure the stencil on your page, then use colored pencils, markers, or ink to fill in the shapes.
Don’t hesitate to layer different stencils for added depth and interest. With templates, you can trace outlines and then color them in, giving you complete control over the details.
Experiment with various colors to make your designs pop, and watch your scrapbook pages come to life!
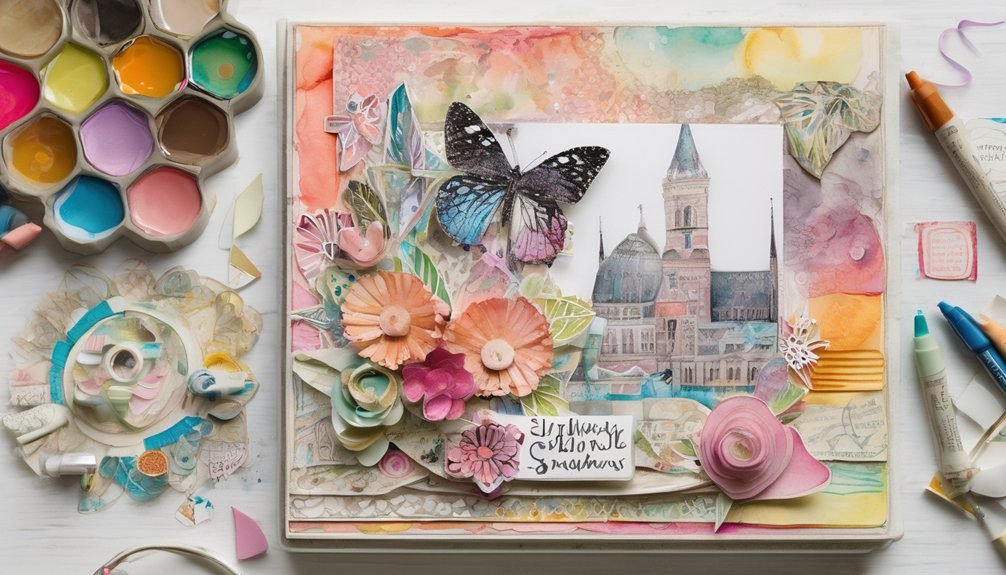
Enhancing Photos With Colored Accents
To make your scrapbook photos truly stand out, consider adding colored accents that draw attention to key elements in the images. This technique not only enhances your photos but also ties them into your overall scrapbook theme.
Here’s how to effectively use colored accents:
- Highlight Faces: Use colored pens or markers to outline or add highlights to faces, making them pop.
- Emphasize Textures: Add color to backgrounds or textures that complement the photo, creating visual interest.
- Frame Key Elements: Draw colored borders around important details, guiding the viewer’s eye.
- Incorporate Patterns: Use patterned stickers or washi tape that harmonize with your color scheme to add depth.
Experimenting With Mixed Media
As you dive into the world of mixed media, you’ll discover endless possibilities for adding depth and texture to your scrapbook pages.
Start by incorporating different materials like fabric, paper, and even natural elements. Layering these items can create stunning visual effects. Use acrylic paints or inks to add vibrant colors and experiment with techniques like stenciling or splattering.
You can also try adding washi tape, stickers, or embossed elements for additional interest. Don’t shy away from including your own hand-drawn designs or colored images; they can personalize your layout significantly.
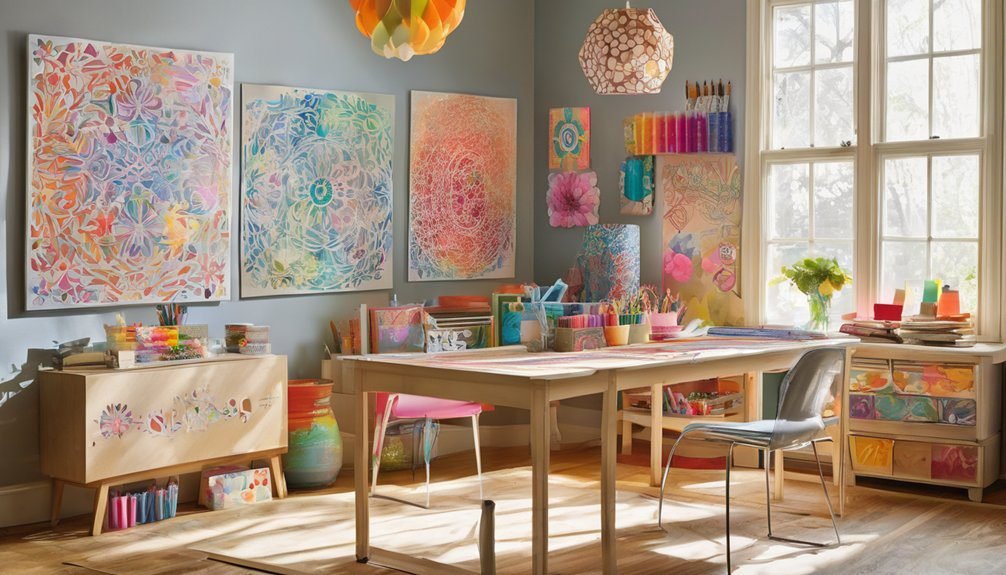
Displaying Your Finished Scrapbook Pages
Every scrapbooker dreams of showcasing their finished pages in a way that captures their creativity and stories.
You can elevate your display with a few simple ideas. Consider these four options:
- Frames: Use attractive frames to hang your pages on the wall, turning them into art pieces.
- Display Books: Create a dedicated display book that you can flip through and share with friends and family.
- Shadow Boxes: If you have three-dimensional elements, shadow boxes can add depth and interest to your display.
- Clipboards: Hang clipboards on your wall for an easy way to swap out pages regularly.
Whichever method you choose, make sure your pages shine and tell your unique story!
Frequently Asked Questions
Can I Use Watercolor in My Scrapbook Coloring Projects?
Yes, you can definitely use watercolor in your scrapbook coloring projects! Just make sure to choose thick paper that can handle moisture, and let everything dry completely before adding any other elements to your scrapbook.
What Types of Paper Are Best for Coloring and Scrapbooking?
For coloring and scrapbooking, choose thick cardstock for vibrant colors and durability. Watercolor paper works well for wet mediums, while textured papers add depth. Think of your project as a canvas, ready to come alive.
How Do I Protect My Colored Elements From Smudging?
You can protect your colored elements by using a fixative spray or sealing them with clear adhesive. Make sure it’s dry before handling, and store your scrapbook in a cool, dry place to prevent smudging.
Can I Combine Digital and Traditional Coloring Techniques?
Absolutely, you can mix digital and traditional coloring techniques! Experiment with digital designs and print them out to color by hand. The blend creates unique textures and styles, making your projects truly one-of-a-kind. Enjoy the process!
What Storage Solutions Work Best for My Coloring and Scrapbooking Supplies?
You’ll want to use clear bins for visibility, drawer organizers for smaller items, and a portable tote for on-the-go projects. Label everything to easily find your supplies, keeping your workspace organized and efficient.
Conclusion
By weaving together coloring and scrapbooking, you’re not just creating pages; you’re painting your memories with vibrant strokes of creativity. Let your imagination run wild as you blend colors and themes, turning ordinary moments into extraordinary art. Each page becomes a canvas, where your story unfolds in bursts of color and texture. So grab your tools, unleash your artistry, and watch your scrapbook transform into a breathtaking tapestry of life’s beautiful journey!