Did you know that coloring can reduce stress levels by up to 75%? Creating your own custom coloring pages at home is not only a fun project but also a great way to unwind. With a few simple materials and some creativity, you can design pages that suit your style and preferences. Let’s explore how to transform your ideas into unique coloring experiences that you can enjoy and share.
Key Takeaways
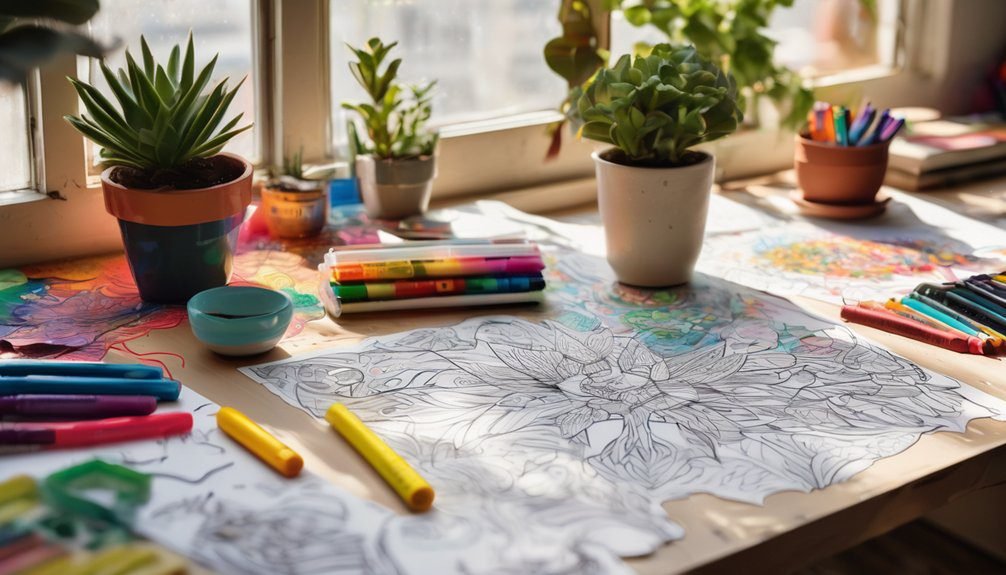
- Gather quality materials like paper, fine-tipped pens, and coloring tools for optimal results in your coloring pages.
- Choose an engaging theme or subject that appeals to your intended audience, including seasonal or character-based designs.
- Start with pencil sketches to outline your ideas, focusing on basic structures and experimenting with different elements.
- Refine your artwork by inking over pencil lines, adding patterns, and ensuring a balanced composition before digitization.
- Digitize your designs using a scanner or smartphone, then edit for brightness and contrast, saving in formats like PNG or PDF.
Gather Your Materials

To create custom coloring pages, you’ll need a few essential materials. Start with high-quality paper, as it’ll hold ink well and resist tearing.
Gather high-quality paper and fine-tipped markers to ensure your custom coloring pages are vibrant and durable.
Grab some fine-tipped markers or pens for outlining your designs, ensuring clean and precise lines. You’ll also want a good eraser and pencil for sketching your initial ideas.
If you prefer digital creations, a tablet or computer with design software can be beneficial. Don’t forget to have a ruler handy; it’ll help you create straight lines and symmetrical shapes.
Lastly, consider having a variety of colored pencils or crayons for adding color once your pages are ready. With these materials gathered, you’re set to unleash your creativity and design unique coloring pages!

Choose a Theme or Subject
Choosing a theme or subject can significantly influence the appeal of your custom coloring pages. Think about what excites you or what interests your intended audience. Whether it’s nature, animals, mandalas, or fantasy, selecting a specific theme sets the tone for your designs.
Consider seasonal themes, like autumn leaves or winter scenes, to add variety throughout the year. If you’re creating for children, popular characters or playful scenes can be appealing. For adults, intricate patterns or motivational quotes might resonate more.
Take a moment to jot down your ideas and visualize how each theme can translate into engaging designs. Ultimately, your chosen theme should reflect your personality or the preferences of those who’ll be coloring your pages.
Sketching Your Designs
Start sketching your designs by grabbing a pencil and letting your imagination flow. Think about the theme you chose earlier and visualize how you want it to translate onto paper.
Don’t worry about perfection; focus on getting your ideas down. Sketch simple shapes and outlines to create the basic structure of your coloring page. Use light strokes so you can easily adjust as needed.
Experiment with different elements, like patterns, characters, or scenes. If you feel stuck, take a break or try doodling to spark new ideas.
Refining Your Artwork

Once you’ve got your initial sketches down, it’s time to refine your artwork. This step is crucial to ensure your designs are both appealing and fun to color.
Here’s how you can enhance your sketches:
- Clean lines: Use a fine-tipped pen to trace over your pencil lines, eliminating any smudges or imperfections. This creates a polished look that invites creativity.
- Add details: Incorporate patterns or textures within shapes. Think swirls in clouds, stripes in grass, or dots in flowers to give depth and interest.
- Consider composition: Ensure your elements balance well on the page. Adjust sizes and placements so they guide the colorist’s eye and create a harmonious design.
With these steps, your artwork will be ready for the next stage!
Digitizing Your Coloring Pages
As you prepare to share your coloring pages with a wider audience, digitizing your artwork is essential. Start by scanning your refined designs using a high-resolution scanner. Aim for at least 300 DPI to capture every detail.
If you don’t have a scanner, you can use a smartphone camera—just ensure good lighting and a steady hand for clarity. Once you have your images, upload them to your computer and use image editing software to clean up any imperfections.
You can adjust brightness and contrast to enhance visibility. Save your files in a versatile format like PNG or PDF, making them easy to share and print.
Digitizing not only preserves your artwork but also opens up exciting distribution possibilities.
Adding Details and Patterns
While you might’ve a solid base for your coloring pages, adding details and patterns can transform them into captivating works of art.
Think about how intricate designs can enhance your creation. Here are three ideas to inspire you:
Consider the impact of detailed designs; they can elevate your artwork and inspire creativity in colorists.
- Floral motifs: Incorporate swirling vines and delicate petals, inviting colorists to explore their creativity.
- Geometric shapes: Add triangles, circles, and squares to create a playful contrast, encouraging bold color choices.
- Textures: Use stippling, cross-hatching, or wavy lines to give depth and interest, making your pages more engaging.
Testing Your Pages
Testing your pages is a crucial step to ensure they’re not just visually appealing but also enjoyable to color. Grab your favorite coloring supplies and start filling in the designs.
Pay attention to how the lines hold up when you color; are they bold enough to keep colors contained? Notice if any areas are too intricate or detailed, making them frustrating to work on.
You might also want to try different coloring techniques—like shading or blending—to see how well the designs accommodate these methods.
After testing, consider making adjustments based on your experience. Remember, the goal is to create pages that spark joy and creativity, so don’t hesitate to tweak your designs until they’re just right!
Printing Your Coloring Pages
After you’ve fine-tuned your designs, it’s time to bring them to life by printing your coloring pages.
Follow these simple steps to ensure vibrant and crisp results:
- Choose the Right Paper: Opt for thick, high-quality paper that can handle various coloring mediums like markers, colored pencils, or watercolors.
- Adjust Printer Settings: Set your printer to the highest quality setting. This ensures that your designs maintain their detail and clarity.
- Test Print: Before printing a full batch, do a test print on regular paper. This helps you check for any adjustments needed in size or layout.
Once you’ve printed your pages, you’re ready to unleash your creativity!
Sharing Your Creations
Sharing your creations can be just as rewarding as the coloring itself. Once you’ve completed your custom pages, consider showing them off to friends and family.
You can take photos of your artwork and post them on social media, inviting others to appreciate your creativity. Create a dedicated hashtag to track your coloring journey and connect with fellow enthusiasts.
If you’re feeling generous, print extra copies of your coloring pages and gift them to loved ones.
Hosting a coloring party is another fun way to share. Invite friends over to color together and exchange ideas.
Tips for Enhancing Your Coloring Experience
Once you’ve shared your creations, enhancing your coloring experience can take your enjoyment to the next level. Here are a few tips to elevate your time:
- Choose the Right Materials: Invest in high-quality colored pencils or markers. The vibrant colors can make your artwork pop and bring it to life.
- Create a Cozy Space: Set up a dedicated coloring nook with good lighting, comfy seating, and your favorite music or podcast playing. This ambiance can help you relax and focus.
- Experiment with Techniques: Try blending colors, using different strokes, or even incorporating watercolors. These techniques can add depth and texture to your pages, making the process even more enjoyable.
Enjoy every moment as you bring your pages to vibrant life!
Frequently Asked Questions
What Software Is Best for Digitizing My Coloring Pages?
For digitizing your coloring pages, Adobe Illustrator and Procreate are excellent choices. They offer powerful tools for tracing and enhancing your designs. You’ll find both user-friendly and feature-rich, perfect for your creative needs.
Can I Sell the Coloring Pages I Create at Home?
Absolutely, you can sell your coloring pages! For instance, Sarah created unique designs and sold them on Etsy, quickly gaining loyal customers. Just ensure your art is original and consider copyright laws to protect your work.
How Do I Ensure My Coloring Pages Are High Quality?
To ensure your coloring pages are high quality, use high-resolution images, choose clear outlines, and select appropriate paper. Test print a few pages to check for clarity and adjust designs as needed for optimal results.
What Paper Type Is Best for Printing Coloring Pages?
For vibrant, detailed results, you’ll want to use heavyweight, smooth paper like cardstock. Think of it as a canvas for your creativity—just like a painter needs the right surface to bring their vision to life.
Are There Copyright Issues With Using Existing Images?
Yes, there’re copyright issues with using existing images. You need to ensure you have permission or use images in the public domain. Creating original designs or using royalty-free resources is a safer option for you.
Conclusion
Creating custom coloring pages at home is not just a fun activity; it’s a way to express your creativity and share it with others. By following these steps, you can transform simple sketches into beautiful, engaging pages that resonate with your audience. Plus, studies show that coloring can reduce stress and enhance focus—making your creations more than just art; they’re a path to relaxation. So grab those markers and let your imagination flow; your unique designs await!