Did you know that over 70% of adult coloring book enthusiasts report feeling more relaxed after engaging in this creative activity? If you want to elevate your coloring skills and achieve a stunning, three-dimensional effect, mastering layered shading is essential. Understanding the right techniques and tools can transform your simple color application into a masterpiece. Let’s explore how you can achieve depth and vibrancy in your artwork, starting with the fundamentals of color theory.
Key Takeaways
- Begin with a light base layer, applying gentle pressure to establish the initial color.
- Gradually add darker shades in layers to build depth and dimension.
- Blend colors together using smooth, circular motions for a seamless transition.
- Identify the light source to accurately place shadows and highlights for realism.
- Use lighter shades or a white gel pen for highlights to enhance the overall effect.
Understanding Color Theory
Color theory serves as the foundation for creating stunning layered shading in your coloring books. Understanding the color wheel is essential; it helps you see how colors interact.
You’ll discover primary, secondary, and tertiary colors, which can guide your choices. Complementary colors, those opposite each other on the wheel, create striking contrasts that bring your artwork to life.
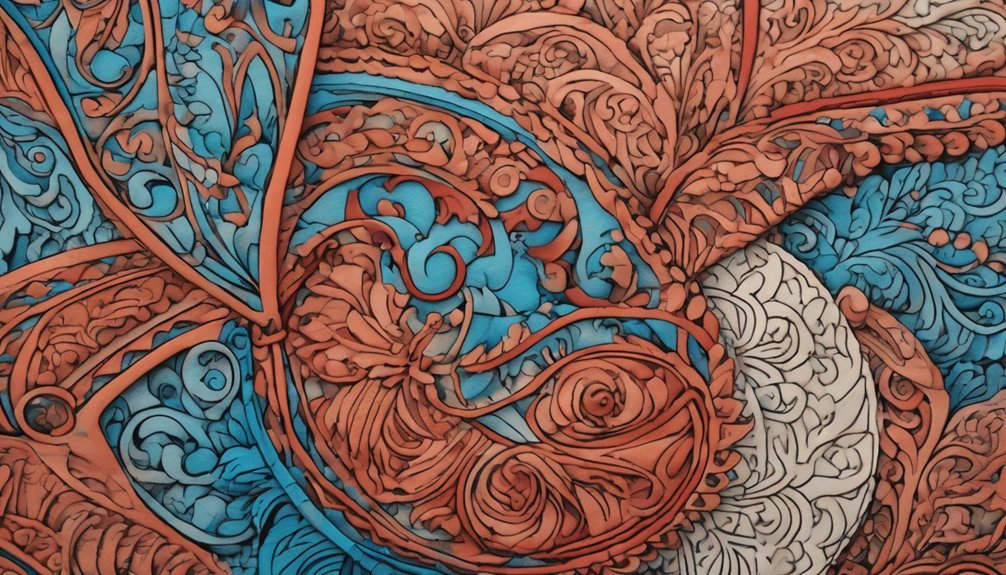
Analogous colors, which are next to each other, help create harmonious blends. You should also consider warm and cool tones; warm colors can energize a piece, while cool colors offer calmness.

Choosing the Right Tools
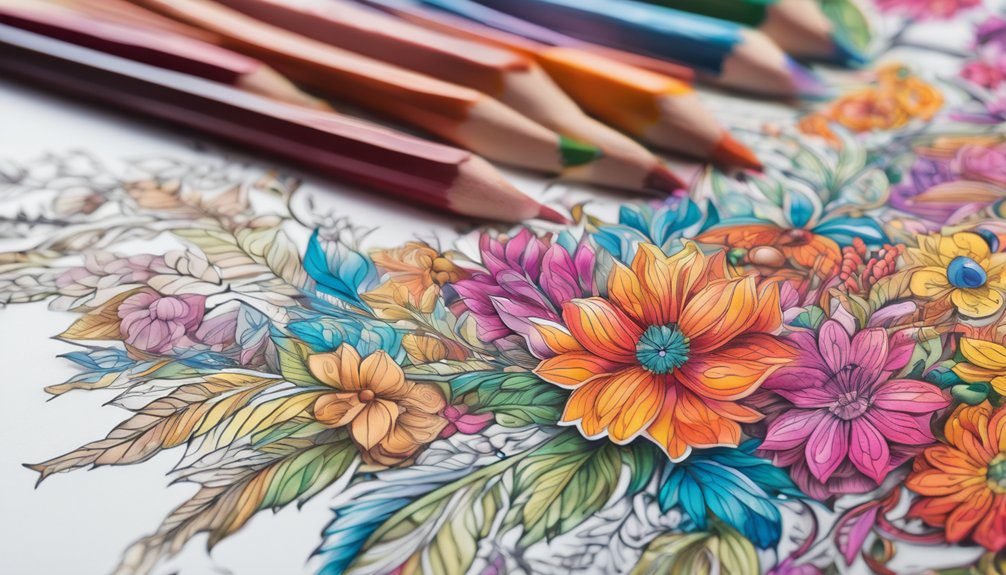
When it comes to achieving stunning layered shading in your coloring books, the right tools can make all the difference. Start with quality colored pencils, as they offer great pigment and blendability.
Achieving stunning layered shading starts with quality colored pencils for excellent pigment and blendability.
Look for sets that include a range of shades, allowing you to create depth easily. You might also consider gel pens or markers for vibrant highlights. A blending tool, like a colorless blender pencil or blending stump, can help you smooth transitions between colors.
Don’t forget about a good sharpener to keep your pencils in top shape. Finally, a sturdy paper is essential; choose one that can withstand multiple layers without tearing.
With the right tools, you’ll be well on your way to mastering layered shading!
Techniques for Layering Colors
Mastering three essential techniques can elevate your layered shading skills in coloring books.
First, start with a light base layer. Use gentle pressure to apply your first color, setting the foundation for depth.
Next, build up layers gradually. Choose a slightly darker shade and apply it over the first layer, blending as you go. This technique creates a smooth transition and enhances richness.
Finally, embrace the blending technique. Use a blending tool or your finger to mix colors together, achieving a cohesive look.
Remember to let each layer dry if you’re using markers or gel pens; this prevents muddy colors.
Creating Depth With Shadows
Building on your layering skills, creating depth with shadows can significantly enhance the visual impact of your coloring pages. Shadows add realism and dimension, making your artwork come alive. Start by identifying the light source in your piece; shadows will fall opposite it. Use a darker shade of the base color for the shadow areas, applying it in soft, gradual layers to avoid harsh lines.
Here’s a quick reference table to guide you:
| Shadow Type | Application Technique |
|---|---|
| Soft Shadows | Blend with circular motions |
| Hard Shadows | Use a sharp pencil or marker |
| Cast Shadows | Extend shadows away from the object |
Experiment with different techniques, and you’ll see how shadows transform your coloring experience!
Highlights: Adding the Finishing Touch
To elevate your coloring pages, adding highlights can make a significant difference, as they bring a touch of brilliance and life to your artwork.
Start by identifying the light source in your piece; this helps you decide where to place the highlights. Use a lighter shade of your base color or a white gel pen for a striking effect.
Apply these highlights sparingly to areas like edges, curves, or where surfaces catch the light. Remember, it’s all about balance—too many highlights can overwhelm your work.
Blend them softly into the surrounding colors to create a seamless look. With these finishing touches, your artwork will pop, drawing attention and showcasing your skills as a colorist.
Enjoy the transformation!
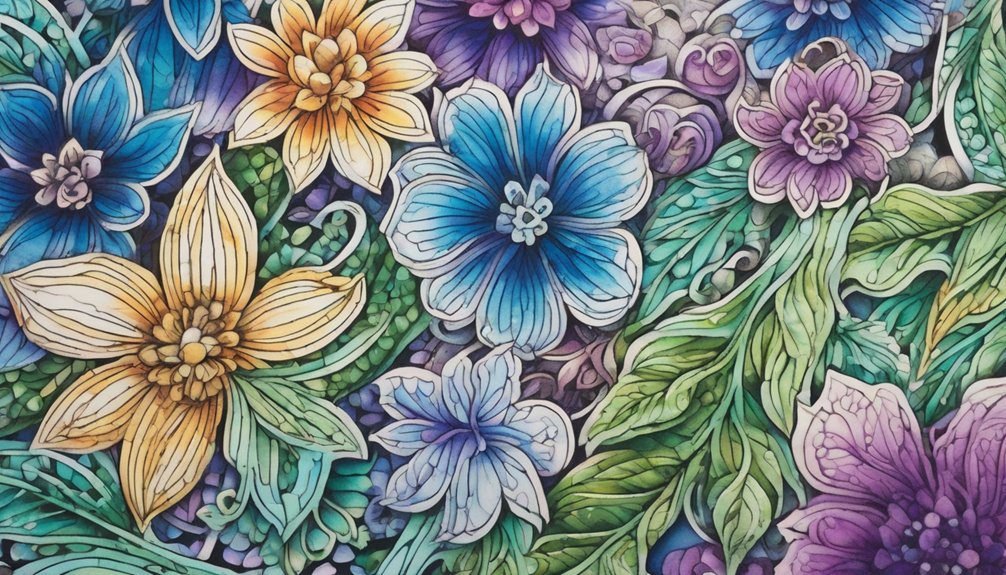
Practicing With Different Color Palettes
While experimenting with different color palettes, you can unlock new dimensions in your coloring projects. Mixing colors not only enhances your piece but also allows you to discover your unique style. Here’s a simple table to help you think about different palettes:
| Palette Name | Color Suggestions | Mood Created |
|---|---|---|
| Warm Tones | Red, Orange, Yellow | Energetic, Inviting |
| Cool Tones | Blue, Green, Purple | Calm, Relaxing |
| Earthy Tones | Brown, Olive, Beige | Grounded, Natural |
| Pastel Palette | Light Pink, Mint, Lavender | Soft, Gentle |
Try creating small samples with each palette. You’ll see how different combinations affect your artwork’s mood and depth, making your coloring experience even more enjoyable.
Showcasing Your Finished Artwork
Showcasing your finished artwork is an exciting way to celebrate your creativity and share your unique style with others.
Showcasing your artwork is a thrilling way to honor your creativity and express your unique style to the world.
Once you’ve completed your masterpiece, consider these fun ways to display it:
- Social Media: Post your artwork on platforms like Instagram or Pinterest. Use relevant hashtags to connect with fellow coloring enthusiasts.
- Art Shows: Look for local art shows or community events where you can exhibit your work. It’s a great way to receive feedback and inspire others.
- Personal Gallery: Create a dedicated space in your home for your artwork. Rotate pieces regularly to keep it fresh and inspiring.
Frequently Asked Questions
Can I Use Colored Pencils on Textured Paper?
Yes, you can use colored pencils on textured paper. Just be aware that the texture may affect how the colors appear and blend. Experiment with pressure and layering to achieve your desired effect. Enjoy your coloring!
How Do I Fix Mistakes in Layered Shading?
You can fix mistakes in layered shading by gently erasing with a kneaded eraser, blending with a lighter pencil, or adding more layers to mask errors. Embrace the journey; every mark tells your artistic story.
What Colors Work Best for Skin Tones?
For skin tones, warm shades like peach, beige, and light brown work best. You can blend these colors to achieve a natural look, adding depth with darker hues and highlights for a realistic effect.
Is Blending Required for Effective Layering?
Blending isn’t strictly required for effective layering, but it enhances your work. It smooths transitions and creates depth, making colors pop. Experiment with blending tools to find what suits your style best and achieve stunning results.
Can Digital Tools Replicate Layered Shading Techniques?
Absolutely! Digital tools can effectively replicate layered shading techniques. Have you noticed how easy it is to blend colors and adjust opacity? With practice, you’ll master stunning effects that rival traditional methods in no time!
Conclusion
Now that you’ve mastered the art of layered shading, let your creativity soar like a bird in the sky! By understanding color theory, choosing the right tools, and practicing these techniques, you can transform any coloring book page into a vibrant masterpiece. Remember, it’s all about patience and practice—each stroke builds upon the last. So grab your colors, unleash your imagination, and watch your artwork come alive with depth and dimension!