Is it really possible to use markers without them bleeding through pages? Many artists and crafters believe it’s a challenge, but the right techniques can make a significant difference. By choosing the right materials and applying specific methods, you can achieve clean, vibrant results. Discovering how to master this skill can elevate your work and make your creations stand out, so let’s explore the best practices to keep your pages pristine.
Key Takeaways
- Choose thicker, marker-friendly paper with a weight above 200 gsm to prevent bleed-through.
- Use high-quality, bleed-resistant markers for better control and reduced ink penetration.
- Test markers on scrap paper to check for bleeding and adjust materials accordingly.
- Apply colors in light layers, allowing each to dry to avoid smudging and bleeding.
- Store markers properly and maintain them to ensure optimal performance and longevity.
Choose the Right Type of Paper
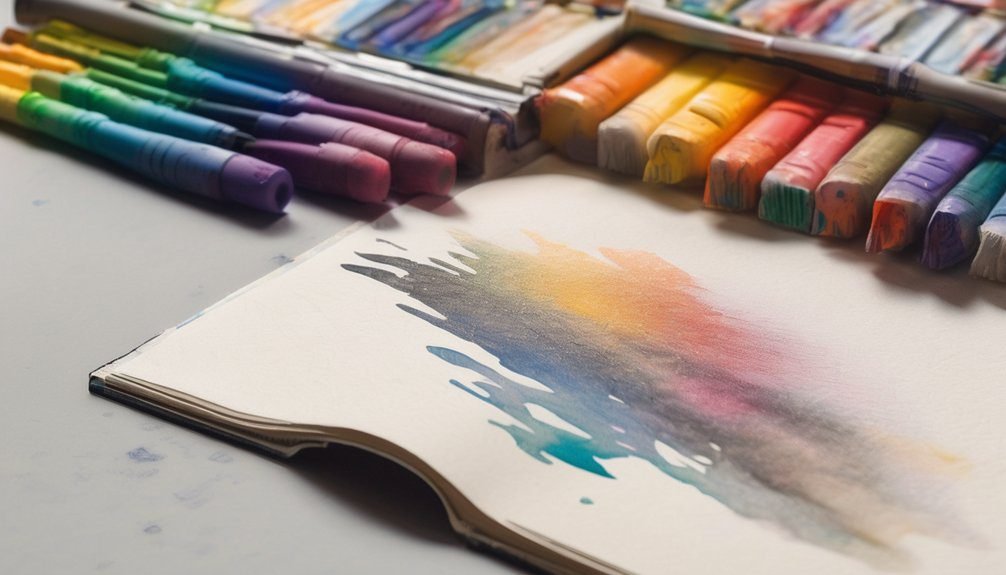
When you want to avoid bleed-through, it’s essential to choose the right type of paper.
Opt for thicker paper, like cardstock or mixed media sheets, as they can handle more ink without soaking through. Look for papers specifically designed for markers; they often have a smooth finish that minimizes bleeding.
Check the paper’s weight, too; anything above 200 gsm usually works well. If you’re using sketchbooks, ensure they’re labeled as marker-friendly.
Additionally, consider the texture; smoother surfaces typically yield better results.

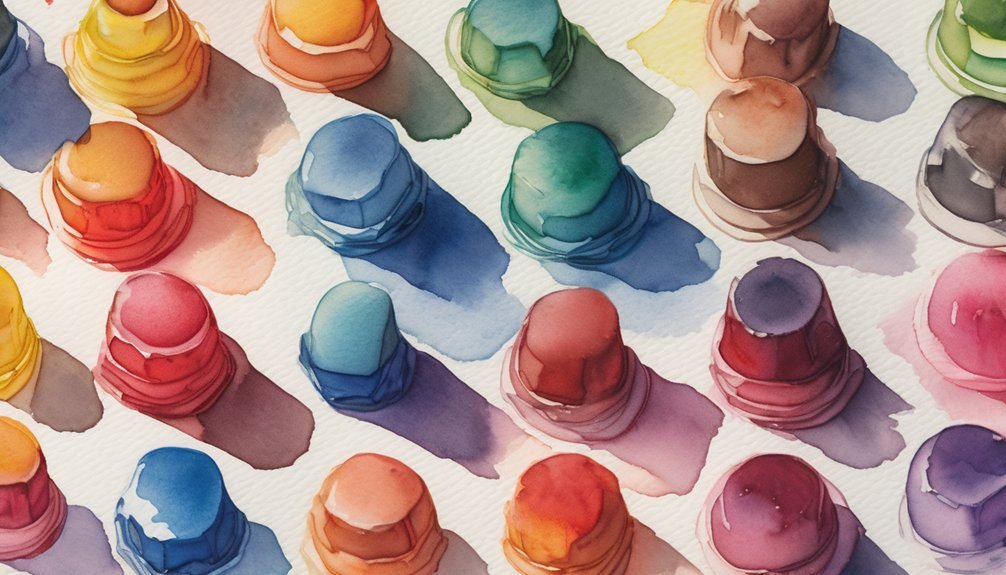
Use Quality Markers
Using quality markers is crucial for achieving vibrant colors without bleed-through. When you choose high-quality markers, you’re investing in pigments that are less likely to seep through the pages.
Look for markers labeled as “non-bleeding” or “bleed-resistant,” as these are designed specifically to prevent ink from penetrating the paper. Additionally, consider the type of ink used; water-based or alcohol-based markers can behave differently on various surfaces.
Quality markers often feature finer tips, allowing for more control and precision in your artwork. As a result, you’ll create cleaner lines and avoid messy accidents.
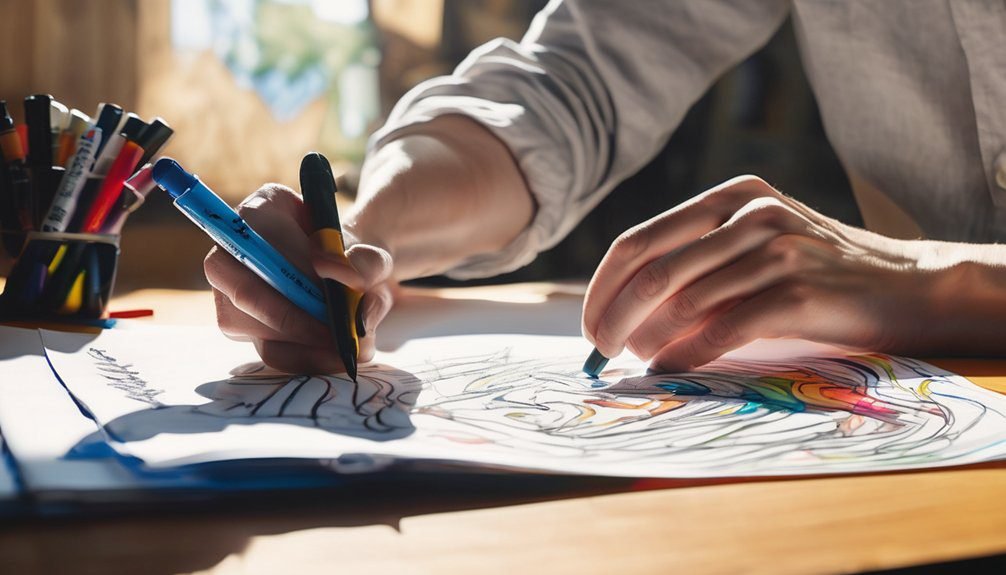
Test Markers Before Use
Before diving into your creative project, it’s essential to test your markers to ensure they perform as expected. Grab a scrap piece of paper and start by making a few strokes with each marker.
Pay attention to how the color appears and whether it flows smoothly. Check for any bleeding through the paper, especially if you’re working with thinner or lower-quality materials.
If you notice any issues, consider switching to a different paper type or experimenting with lighter pressure while applying color. This simple test can save you from potential frustration later on.
Layering Techniques
After testing your markers, you’re ready to explore layering techniques that can enhance your artwork. Start by applying a light base layer; this creates a foundation for your colors.
Once that’s dry, you can add additional layers to build depth and dimension. Use a lighter hand when layering darker colors; this helps prevent overwhelming your design.
You can also mix colors directly on the page by applying them side by side and blending with a lighter marker. Experiment with overlapping shapes to create interesting effects.
Remember to let each layer dry before adding more to avoid smudging. These techniques won’t only enrich your art but also keep it looking crisp without bleeding through the pages.
Enjoy the process!
Avoid Over-Saturation
While it might be tempting to layer on thick colors for a bold effect, over-saturation can lead to unwanted bleeding through your pages. To avoid this, keep the following tips in mind:
- Start Light: Begin with a light base layer and gradually build up color intensity.
- Use Short Strokes: Apply color in short, quick strokes rather than long, sweeping motions to control saturation.
- Allow Drying Time: Give each layer some time to dry before adding more; this helps reduce bleed-through.
- Test First: Always test your markers on a spare piece of paper to see how they react and how much saturation is too much.
Use Protective Sheets
Using protective sheets can be a game-changer when you want to prevent marker bleed-through. These sheets create a barrier between your artwork and the pages underneath, ensuring your designs stay crisp and clean.
You can easily find clear plastic sheets or even use old magazine pages to serve this purpose. Just place the protective sheet under your drawing area before you start coloring. This way, if you accidentally over-saturate a section, the ink won’t seep through.
Plus, using protective sheets lets you experiment with different techniques without worrying about ruining your work. So grab some sheets, and keep your creativity flowing without the stress of bleed-through ruining your pages!
Maintain a Steady Hand
Protective sheets help safeguard your pages, but a steady hand is just as important for preventing marker bleed-through.
To achieve that, here are some tips to maintain control while you color:
- Practice Grip: Hold the marker lightly, but firmly. A relaxed grip reduces tension.
- Stabilize Your Arm: Rest your elbow on a flat surface to avoid wobbling while you draw.
- Slow and Steady: Move the marker slowly across the page. Quick strokes can lead to mistakes and excess ink.
- Use the Right Tip: Choose a marker with a fine tip for more precision, especially in tight spaces.
Experiment With Different Styles
Experimenting with different styles can open up a world of creativity when using markers. Try out various techniques like cross-hatching, stippling, or blending to find what suits you best. Each approach offers unique textures and effects that can elevate your artwork.
Don’t hesitate to mix styles; combining bold lines with soft gradients can create striking visuals. You might also explore different types of strokes—short, quick dashes can add energy, while long, sweeping lines convey fluidity.
Additionally, varying your pressure on the marker can yield different shades and intensities. As you experiment, keep a sketchbook to document your findings. This way, you’ll develop your signature style while minimizing the risk of bleeding through the pages.
Enjoy the process and let your creativity flow!
Care for Your Markers
Proper care for your markers can extend their lifespan and ensure they perform at their best. Here are some essential tips to keep in mind:
Proper care for your markers enhances their longevity and performance, ensuring you get the most out of every stroke.
- Cap Them Tightly: Always replace the cap securely after use to prevent the ink from drying out.
- Store Horizontally: Keep your markers lying flat. This helps maintain even ink distribution and prevents them from drying out or leaking.
- Avoid Direct Sunlight: Store your markers in a cool, dry place away from direct sunlight to protect the ink quality.
- Clean Tips Regularly: Wipe the tips with a damp cloth occasionally to remove any dried ink or debris, ensuring smooth application.
Frequently Asked Questions
Can I Use Markers on Regular Printer Paper?
You can use markers on regular printer paper, but they might bleed through, especially with heavy application. If you want cleaner results, try using lighter strokes or consider thicker paper designed for markers.
What Types of Markers Are Best for Coloring Books?
Alcohol-based markers, like Copics, are often best for coloring books, known for their vibrant colors and smooth application. Did you know they can blend seamlessly? You’ll create stunning art that pops off the page!
How Can I Remove Marker Stains From Paper?
To remove marker stains from paper, gently dab the stain with rubbing alcohol using a cotton ball. You can also try using a specialized ink remover or lightly sanding the area, if possible.
Are Alcohol-Based Markers Better Than Water-Based Ones?
Yes, alcohol-based markers often provide more vibrant colors and blend better than water-based ones. However, they can bleed through paper, so choose the right paper for your project to avoid any unwanted effects.
Can I Use Markers on Glossy Surfaces?
Yes, you can use markers on glossy surfaces, but choose permanent or paint markers for the best results. They adhere well and won’t smudge easily. Just make sure to test a small area first!
Conclusion
In your artistic journey, think of each marker as a painter’s brush, skilled yet gentle. By choosing the right paper and quality tools, you lay the canvas for creativity to flourish. Layering colors like petals in a garden, you build depth without fear of bleed. Protect your work as a sculptor guards their masterpiece, and care for your markers like cherished friends. With practice and patience, your pages will bloom, vibrant and untouched, revealing the beauty of your imagination.