Your finished coloring pages could be masterpieces that rival the works of famous artists—if only they weren’t at risk of fading away. It’s essential to think about how to preserve them properly. From choosing the right paper to utilizing digital backups, there are several strategies you can use to ensure your creations last. Let’s explore the best methods to keep those vibrant colors intact for years to come.
Key Takeaways
- Use high-quality, acid-free paper to prevent yellowing and deterioration of finished coloring pages.
- Scan artwork using a high-quality scanner and save images in lossless formats like PNG or TIFF.
- Consider laminating finished pages to protect against wear, spills, and fading, enhancing their durability.
- Frame your coloring pages with UV-protective glass and acid-free backing to prevent deterioration and fading.
- Create a digital album to organize and showcase scanned coloring pages for easy access and sharing.
Choosing the Right Paper
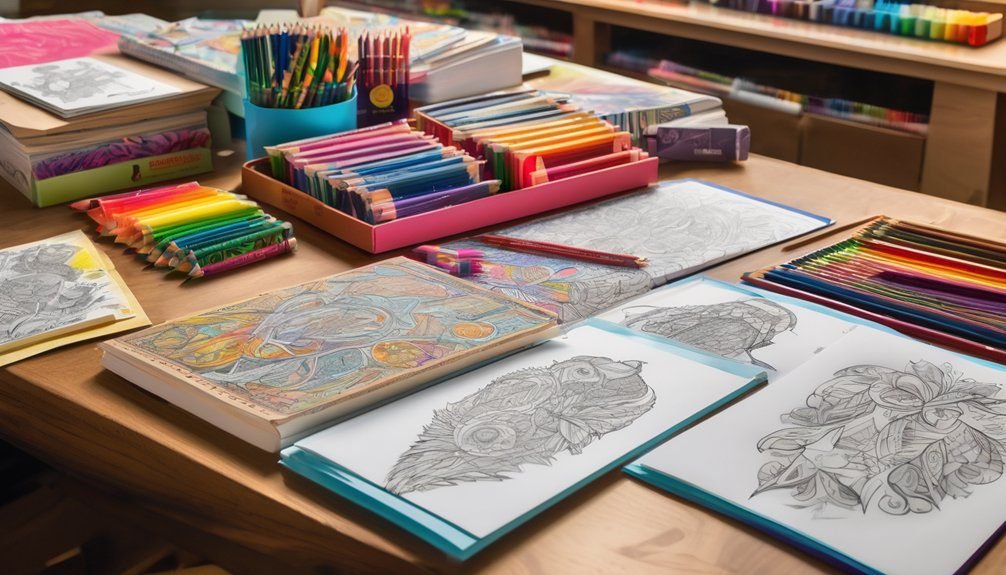
When it comes to preserving your finished coloring pages, the type of paper you choose plays a crucial role. Opt for high-quality, acid-free paper to prevent yellowing and deterioration over time. This kind of paper ensures your colors stay vibrant and true, which is essential if you want to display your artwork.
Consider weight, too; heavier paper can withstand more coloring pressure and won’t warp easily. If you’re using markers or watercolors, look for paper designed specifically for those mediums. You’ll benefit from smoother application and less bleed-through.
Lastly, think about texture—smooth paper allows for fine details, while textured paper can add depth. Choosing the right paper sets the foundation for preserving your creativity!
Digital Scanning and Archiving
Digital scanning and archiving your finished coloring pages can significantly extend their lifespan and allow you to share your art easily.

Start by using a high-quality scanner to capture every detail and color of your artwork. Save the scanned images in a lossless format, like PNG or TIFF, to maintain their quality.
Utilize a high-quality scanner to preserve every detail of your artwork, saving images in lossless formats like PNG or TIFF.
Organize your files in folders by date or theme, making it simple to locate your favorites. You can also create digital albums or slideshows to showcase your work.
If you want, consider using cloud storage for easy access and backup. This way, you’ll ensure your creations are protected from physical damage while enjoying the convenience of sharing them with friends and family online.
Laminating for Longevity
Once you’ve scanned and saved your finished coloring pages, laminating them is a fantastic way to enhance their durability.
By using a laminator, you’ll protect your artwork from wear, tear, and even spills. The plastic film adds a layer of protection that keeps colors vibrant and prevents fading, allowing you to enjoy your creations for years.
Plus, it makes them easy to display or handle without worrying about damaging the paper.
When laminating, ensure you’re using the right thickness for your pages; thicker laminating pouches offer extra protection.
Don’t forget to trim any excess film after laminating to give your finished pieces a neat appearance.
With this simple step, you can preserve your artistic achievements beautifully and effectively.
Framing Techniques
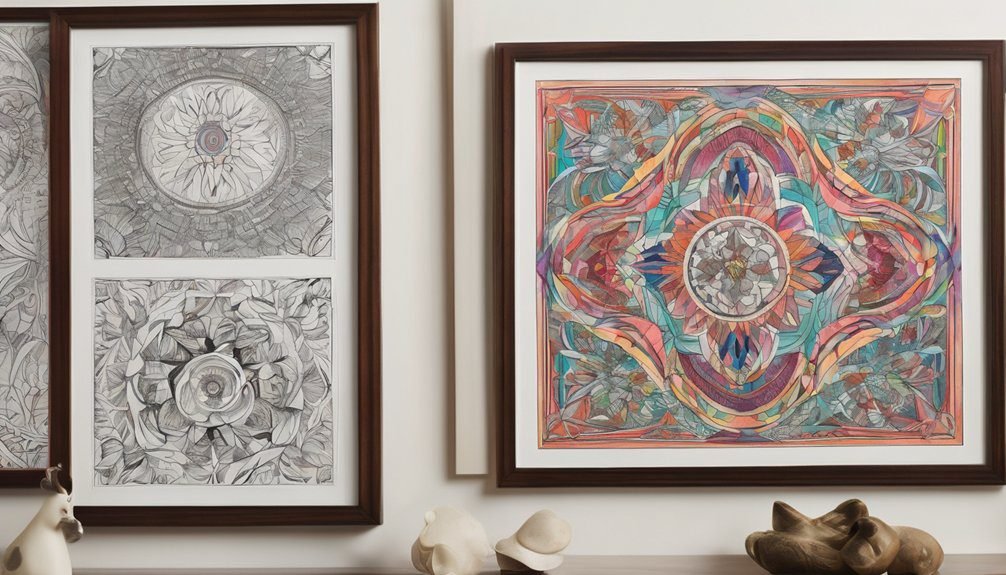
Framing your finished coloring pages can elevate their presentation and protect them from damage. Start by selecting a frame that complements your artwork; choose colors or styles that enhance your design.
Measure your coloring page and cut a mat board if needed, creating a polished look. Consider using UV-protective glass to shield your page from sunlight, preventing fading over time.
Measuring your coloring page and adding a mat board can enhance its presentation, while UV-protective glass helps prevent fading.
When placing your artwork in the frame, ensure it’s secure but not overly tight to avoid warping. Use acid-free backing to keep your paper safe from deterioration.
Finally, hang or display your framed pieces in a location that highlights your creativity while avoiding direct sunlight. With these techniques, your coloring pages will be preserved beautifully for years to come.
Creating a Coloring Book
After you’ve beautifully framed your finished coloring pages, you might find yourself inspired to create your own coloring book.
Start by selecting a theme that excites you—whether it’s nature, animals, or abstract designs. Next, gather your colored pages, ensuring they’re scanned or photographed at high quality.
Use software or online platforms to arrange the images into a cohesive layout. Don’t forget to consider the order of pages for a smooth flow. Add fun titles or prompts to engage users.
Once your design’s complete, choose a printing option that suits your budget and desired quality. Finally, share your coloring book with friends or even sell it online.
Enjoy the process and watch your creativity come to life!
Displaying in a Portfolio
While showcasing your finished coloring pages in a portfolio, you can effectively highlight your artistic journey and unique style. Organizing your work in a visually appealing manner not only enhances the presentation but also makes it easier for others to appreciate your creativity. Consider categorizing your pages based on themes, color schemes, or techniques.
Here’s a simple table to help you think about your portfolio organization:
| Theme | Color Scheme | Technique |
|---|---|---|
| Nature | Pastels | Watercolor |
| Animals | Bright Colors | Mixed Media |
| Mandalas | Monochrome | Markers |
This approach allows you to showcase your versatility and growth as an artist, making your portfolio a true reflection of your skills.
Sharing With Family and Friends
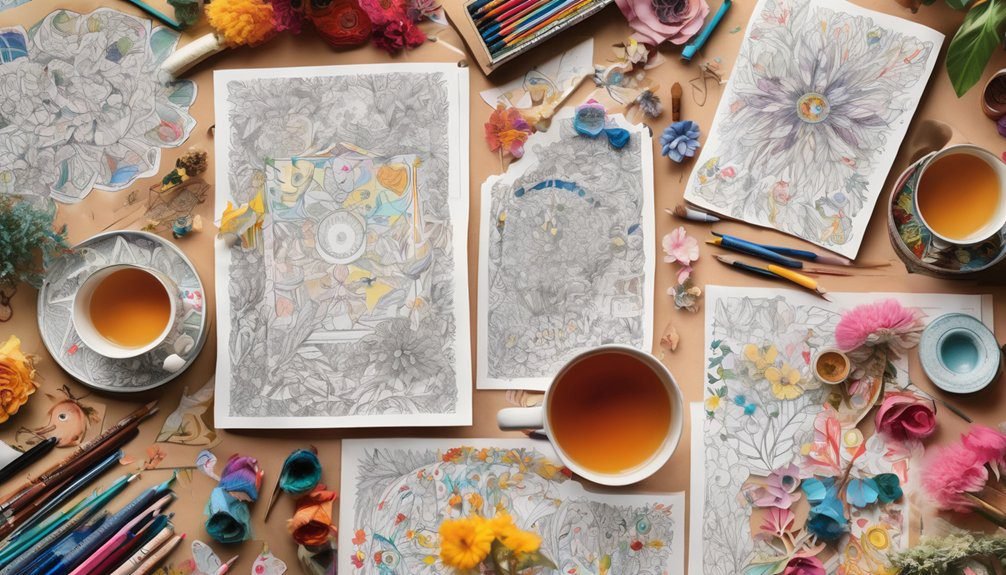
How can you make your finished coloring pages truly special for those close to you? Sharing your artwork is a wonderful way to spread joy and creativity. Consider gifting your colored masterpieces to family and friends. You could frame a few favorites for a unique touch, or even create personalized greeting cards. This transforms your art into a heartfelt present that shows you care.
Another idea is to host a small sharing party, where everyone can admire your work while enjoying snacks. Encourage them to bring their own coloring pages too! This creates a fun atmosphere and inspires creativity.
Frequently Asked Questions
Can I Use Markers on My Coloring Pages Without Smudging?
Yes, you can use markers on your coloring pages without smudging. Just make sure to let each layer dry before adding more colors, and consider using thicker paper to minimize bleed-through and enhance your artwork.
How Do I Clean My Colored Pages Without Damaging Them?
To clean your colored pages, gently wipe them with a soft, dry cloth. If needed, use a slightly damp cloth, but avoid excessive moisture. Always test a small area first to prevent damage.
What Is the Best Way to Store Uncolored Pages?
To store uncolored pages, you should keep them flat in a folder or portfolio. Avoid stacking them to prevent creases, and store them in a cool, dry place away from direct sunlight for best protection.
Can I Use Digital Tools to Enhance My Finished Coloring Pages?
Absolutely! You can definitely use digital tools to creatively enhance your finished coloring pages. With vibrant filters, artistic adjustments, and clever cropping, you’ll transform your art into a stunning digital showcase that delights and dazzles!
What Materials Should I Avoid When Preserving Coloring Pages?
Avoid materials like acidic paper, plastic sleeves that trap moisture, and non-archival inks or adhesives. These can damage your coloring pages over time, causing fading, discoloration, or deterioration. Stick to high-quality, archival-safe options instead.
Conclusion
By taking the time to preserve your finished coloring pages, you’re not just protecting your art; you’re also safeguarding memories. Did you know that studies show 70% of people feel a sense of accomplishment when they complete a creative project? By following these preservation techniques, you can ensure your creations remain vibrant and cherished for years to come. So go ahead, scan, laminate, and display your artwork—you’ve earned it!