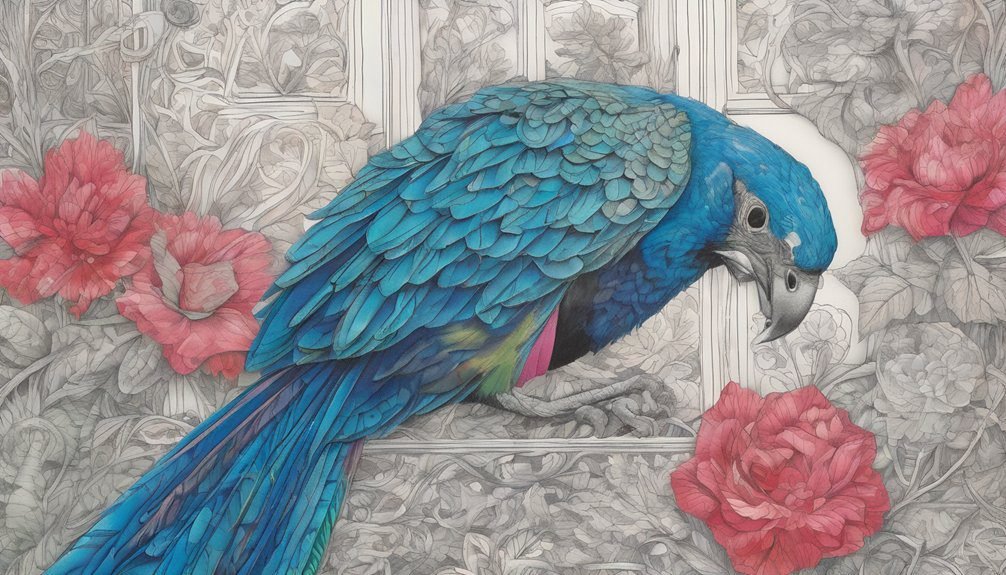
Blending colors can either make your coloring pages pop or leave them looking flat. It’s all about technique and the right tools. If you want to elevate your artwork, understanding how to layer and blend effectively is crucial. From choosing the right supplies to mastering gradients, there are several strategies you can employ. Discover how you can transform your approach and achieve stunning results that truly stand out.
Key Takeaways
- Start with a light base coat to establish the foundation before adding darker shades for depth.
- Use blending stumps or tortillons to create smooth transitions between colors for a seamless look.
- Layer colors gradually, adding mid-tones before applying shadows to enhance dimension.
- Experiment with different media, like combining colored pencils with markers for unique textures and effects.
- Test blending combinations on scrap paper to ensure colors work well together before applying them to your artwork.
Understanding Color Theory
Understanding color theory is essential for creating stunning and harmonious coloring pages, as it allows you to make informed choices about the colors you use. By grasping the color wheel, you’ll see how primary, secondary, and tertiary colors interact.
Complementary colors, which sit opposite each other on the wheel, can create striking contrasts, while analogous colors, positioned next to each other, offer a more serene look. Experimenting with warm and cool tones can also influence the mood of your artwork.
Additionally, learning about saturation and brightness helps you refine your palette, ensuring balance and depth. Ultimately, a solid foundation in color theory empowers you to express your creativity and enhance the visual appeal of your coloring pages.
Choosing the Right Coloring Supplies
With a solid grasp of color theory, you’re ready to explore the tools that will help bring your coloring pages to life.
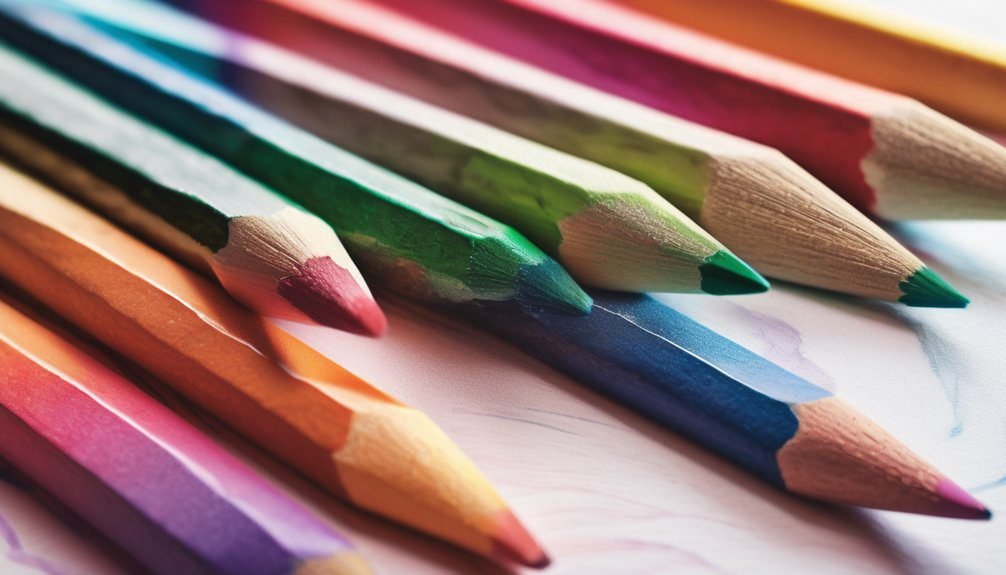
Start by selecting high-quality colored pencils, as they offer better blending capabilities than basic options. Look for a set with a wide range of colors to give you more choices when creating depth and harmony.

Selecting high-quality colored pencils enhances blending and provides a wider color range for depth and harmony in your artwork.
Watercolor markers are another great option; they allow for smooth transitions and vibrant effects. Don’t forget about blending tools like tortillons or blending stumps for added finesse.
If you prefer markers, choose alcohol-based ones for their ability to blend seamlessly.
Lastly, invest in good paper—thicker stock prevents bleed-through and enhances your overall work.
Choose wisely, and your pages will pop with color!
Layering Techniques for Depth
Three key layering techniques can elevate your coloring pages and add stunning depth. First, start with a base coat; apply a light color evenly to set the foundation. Next, add a mid-tone layer using a slightly darker shade. This will create dimension. Finally, finish with shadows by applying a dark color in specific areas, such as under objects or along edges.
Here’s a quick reference table for layering:
| Technique | Purpose | Example Colors |
|---|---|---|
| Base Coat | Establish foundation | Light Blue |
| Mid-Tone Layer | Add dimension | Sky Blue |
| Shadow Layer | Create depth | Navy Blue |
With these techniques, your coloring pages will pop with life and character!
The Power of Blending Tools
Blending tools can transform your coloring pages, making colors seamlessly merge for a more polished look. Whether you’re using colored pencils, markers, or pastels, these tools enhance your artwork.
A blending stump, for instance, allows you to smooth transitions between colors, creating soft gradients. You can also use a cotton swab or your fingers to achieve a similar effect, but be careful not to smudge your work.
If you prefer a more precise approach, try a blender pencil—its waxy core can help unify colors without disrupting your base layers. Experiment with different tools to find what works best for your style.
With the right blending tools, you’ll elevate your coloring experience and achieve stunning results.
Utilizing Colorless Blending Markers
If you’re looking for a way to enhance your coloring pages further, consider using colorless blending markers. These markers help you achieve smooth transitions between colors, giving your artwork a professional touch. To use them, simply layer your colored pencils, then apply the blending marker over the colors. This technique softens harsh lines and creates a seamless look.
Here’s a quick guide to help you understand the process:
| Step | Action | Result |
|---|---|---|
| 1 | Color your base shades | Start with vibrant colors |
| 2 | Layer additional colors | Add depth and dimension |
| 3 | Apply colorless blending marker | Blend and soften edges |
| 4 | Let it dry | Finish with a polished look |
With practice, you’ll master this technique!
Experimenting With Watercolor Techniques
While exploring different coloring techniques, experimenting with watercolor can bring your coloring pages to life in vibrant ways.
Start by wetting your brush before dipping it into the paint, allowing for smoother application. Try using a wet-on-dry technique, where you apply wet paint onto dry paper for sharper edges.
Alternatively, the wet-on-wet method creates beautiful blends, as colors merge together seamlessly. Don’t forget to play with water levels; more water yields softer hues, while less gives you bold pops of color.
Remember to layer your washes for depth; let each layer dry before adding more. With practice, you’ll discover unique effects that transform your artwork, making your coloring experience truly enjoyable and rewarding!
Mixing Media for Unique Effects
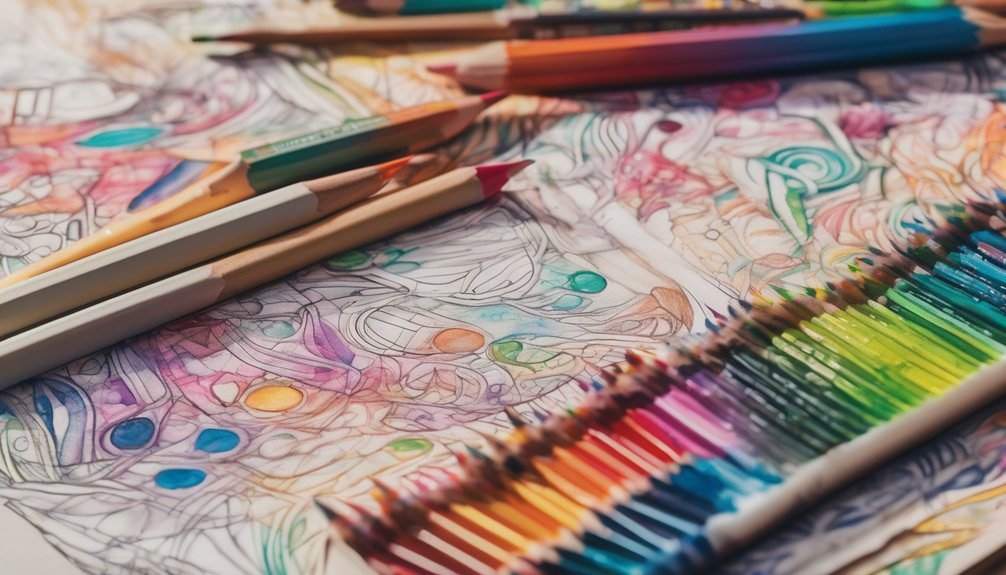
Mixing different media can elevate your coloring pages, adding dimension and texture that single mediums often lack.
Try combining colored pencils with markers for vibrant results. Start with markers to lay down a base color, then use colored pencils to add depth and detail. You can also experiment with gel pens to create highlights over colored pencil or watercolor backgrounds.
Combine colored pencils and markers for vibrant artwork; start with markers for a base, then enhance with colored pencils for depth.
Don’t forget about pastels! Blending soft pastels with pencils can produce a soft, dreamy effect.
For a unique touch, consider using metallic or glitter elements to make certain areas pop. Always test your combinations on a separate sheet first to see how they interact.
Embrace the chaos of creativity—you’ll discover stunning effects that truly personalize your artwork!
Practicing Gradients With Colored Pencils
After exploring various media, focusing on gradients with colored pencils can truly enhance your coloring technique.
Start by selecting two or three colors that complement each other. Apply the lighter shade first, using gentle pressure to create a base layer. Gradually introduce the darker shade at the edges, blending it softly into the lighter color.
Use a circular motion or gentle back-and-forth strokes to merge the colors seamlessly. Don’t rush; building layers slowly will yield a smoother gradient. You can also experiment with a colorless blender pencil to smooth out transitions further.
Practice on scrap paper to get a feel for the pressure and technique. With patience, you’ll master beautiful gradients that elevate your artwork significantly!
Tips for Maintaining Vibrancy in Your Artwork
To keep your artwork vibrant, it’s essential to choose high-quality materials that enhance color saturation. Invest in premium colored pencils or markers, as they provide richer pigments and blend more smoothly.
Always use a good paper that can handle multiple layers without pilling or tearing.
When applying color, start with light layers and gradually build up intensity; this prevents muddying your hues. Blend colors while they’re still wet to achieve seamless transitions.
Keep your tools clean and sharpened for precise application.
Lastly, remember to protect your finished pieces from direct sunlight and moisture to prevent fading. By following these tips, you’ll maintain the brightness and vibrancy of your artwork, making it truly stand out.
Frequently Asked Questions
How Do I Fix Mistakes When Blending Colors?
You can fix mistakes by layering a lighter color over darker areas or using a colorless blender to smooth transitions. Don’t hesitate to experiment; practice helps you learn how to correct blending errors effectively.
Can I Blend Different Types of Coloring Mediums?
Absolutely, you can blend different mediums! Just picture a painter mixing oils and acrylics. Experimenting with colored pencils and markers can create vibrant effects. Make sure to test on scrap paper to find your perfect combination!
What Is the Best Paper for Blending Colors?
The best paper for blending colors is smooth, heavyweight paper like bristol or mixed media. These surfaces allow your colors to glide easily, enhancing blending techniques and ensuring vibrant, rich results in your artwork.
How Do Lighting Conditions Affect Color Blending?
Lighting’s like a magician, transforming your colors. Bright light can enhance vibrancy, while dim light might dull shades. So, adjust your environment; it’ll help you blend colors beautifully and create stunning effects on your pages!
Should I Blend Colors Before or After Outlining?
You should blend colors before outlining. This technique allows for smoother transitions and deeper hues, enhancing your artwork. Outlining after blending helps define your shapes without interrupting the flow of your color application.
Conclusion
By embracing these blending hacks, you’ll transform your coloring pages into vibrant masterpieces that even a Renaissance artist would admire. Remember, each layer you add is a step closer to achieving that coveted depth and dimension. Don’t shy away from experimenting—just as a painter finds magic in unexpected combinations, you too can uncover unique effects. So grab your colored pencils, unleash your creativity, and let your imagination run wild across the pages!